
 EN
EN  English
 Português
Application Industry
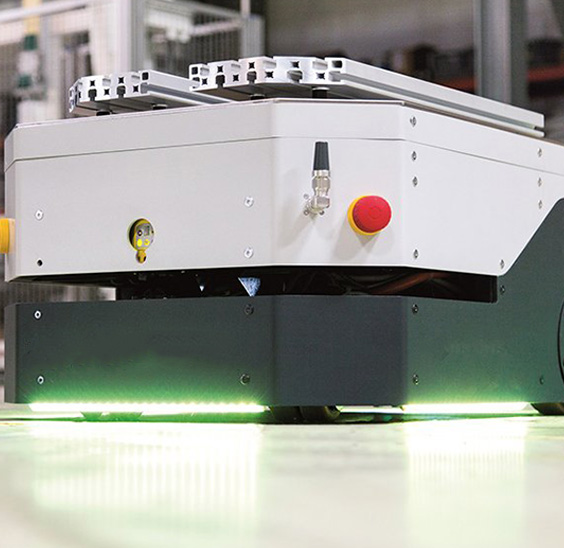
AGV

Automated robots
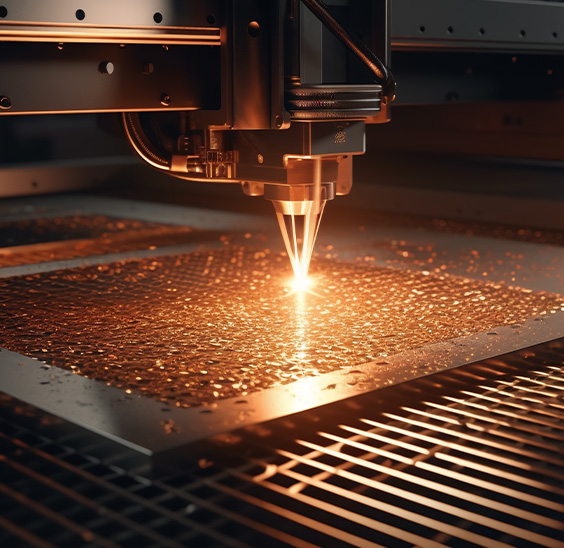
laser cutting
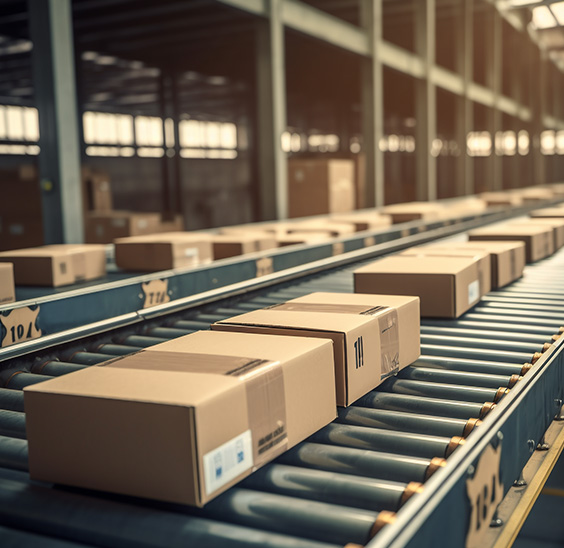
Logistics sorting

Photovoltaic power-station
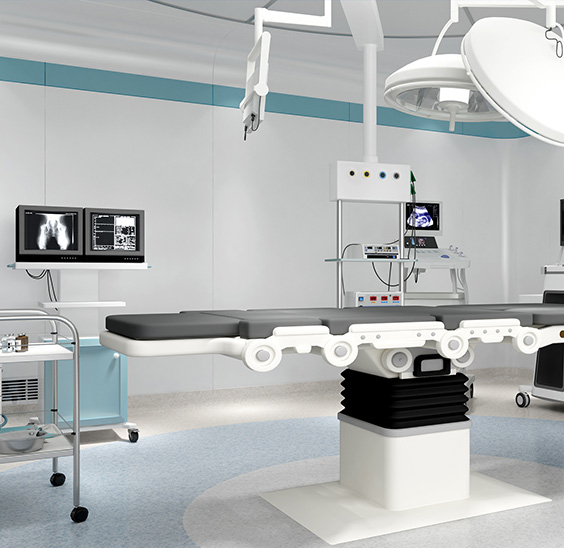
Medical devices
How to diagnose a leaking brake chamber?
Maintaining optimal brake system integrity is critical for commercial vehicle safety. Among potential failures, a leaking brake chamber poses a significant risk, potentially leading to reduced braking power, longer stopping distances, and complete brake failure if unaddressed.
Essential Safety Precautions:
-
Park the vehicle on a level surface, chock wheels securely, and engage parking brakes (if functional and safe to do so).
-
Wear appropriate Personal Protective Equipment (PPE): safety glasses and gloves.
-
Ensure the air system is fully pressurized initially, then safely depressurize the system before any physical inspection involving disassembly or probing. Follow OEM depressurization procedures precisely. Never work on pressurized components.
Diagnostic Procedure:
-
Initial Auditory Inspection (System Pressurized):
-
With the engine running and the air system at governor cut-out pressure (typically 115-135 psi), listen carefully around all brake chambers.
-
A distinct, continuous hissing sound emanating from a brake chamber area is a primary indicator of a significant air leak. Pay close attention to the chamber body, pushrod boot, and clamp areas.
-
-
Visual Inspection (System Depressurize First!):
-
Safely depressurize the air system as per OEM instructions.
-
Visually inspect each brake chamber:
-
Pushrod Boot: Check for cracks, tears, holes, or detachment. A damaged boot often indicates a leaking diaphragm inside the brake chamber.
-
Chamber Body & Clamp: Look for physical damage (dents, cracks, corrosion holes) on the chamber housing or the clamp sealing the two halves together. Corrosion is a common failure point.
-
Air Line Connections: While the leak might originate at a fitting or line, ensure leaks aren't misattributed to the chamber itself. Tighten fittings only to specified torque if loose; overtightening can damage threads.
-
-
-
Soap Solution Test (The Primary Diagnostic Tool - System Pressurized):
-
Mix a solution of liquid soap (dish soap works well) and water. A spray bottle is ideal.
-
With the system fully pressurized (parking brakes released if testing service chambers; parking brakes applied and system charged if testing spring brake chambers - Exercise Extreme Caution), thoroughly spray the soap solution over the entire suspect brake chamber:
-
All surfaces of the chamber body.
-
Around the pushrod where it exits the boot.
-
The entire circumference of the clamp joining the two chamber halves.
-
The air line connections at the chamber ports.
-
-
Observe Closely: Bubbles forming at any specific location on the brake chamber body, clamp seam, pushrod boot seal, or around the pushrod stem itself provide a definitive visual confirmation and location of the air leak. Persistent bubbling indicates an active leak.
-
-
Air Loss Rate Test (System-Level Check):
-
While not pinpointing the exact brake chamber, this test identifies if the system has excessive leakage, warranting further investigation.
-
Build system air to cut-out pressure. Shut off the engine.
-
Release all service brakes (parking brakes may be applied or released, note configuration).
-
Monitor the air pressure gauge. A pressure drop exceeding regulatory thresholds (commonly more than 2 psi per minute for combination vehicles after initial pressure drop) indicates system air loss. Use the soap test to locate the specific source(s), including brake chambers.
-
-
Diaphragm Leak (Internal Failure - Often Indicated by Boot Damage/Soap Test):
-
A leaking internal diaphragm is a frequent cause. Symptoms often include air escaping audibly from the pushrod boot vent hole (if equipped) or confirmed by soap bubbles at the boot/pushrod interface. A torn diaphragm requires brake chamber replacement.
-
-
Check Valve Function (Related Component):
-
A leaking check valve feeding a specific brake chamber can sometimes mimic a chamber leak. Applying soap solution to the check valve body and connections can help rule this out. A faulty check valve will leak back towards the supply line.
-
Critical Action Upon Confirmation:
A confirmed leaking brake chamber must be addressed immediately. Repair of the chamber itself is not permissible. The compromised brake chamber requires replacement with a new or certified remanufactured unit meeting OEM specifications. Always replace diaphragms as part of a complete chamber assembly. Strictly adhere to the vehicle manufacturer's replacement procedures and torque specifications.
Timely diagnosis of a leaking brake chamber is a vital maintenance skill. Relying on the systematic application of auditory checks, careful visual inspection (post-depressurization), and the definitive soap solution test provides a clear, professional method for identifying this critical failure. Prompt replacement of any leaking brake chamber is non-negotiable for ensuring vehicle braking system safety and compliance. Regular preventative inspections are key to identifying potential brake chamber issues before they lead to dangerous air loss.
Related products
-

This brake chamber adopts a unique wedge-shaped design, combines advanced braking technology and high-quality materials, and is designed to provide stable, reliable and efficient braking performance t...
See Details -

DP WEDGE BRAKE CHAMBER F-Series Regular Release This product is specially designed to meet the market's demand for efficient, stable and reliable braking systems. It uses advanced wedge braking techno...
See Details


CONTACT DETAILS
- Phone: +86-198 1775 0319
- TEL: +86-575 8909 8166
- E-mail: sale@t1zc.cn
- Office Address: 122-2 Busen West Road, Fengqiao Town, Zhuji, Zhejiang, China
If You Are Intrested
In Our Products,
Please Consult Us
Copyright © ZHUJI TEYI IMPORT&EXPORT CO.,LTD. All Rights Reserved.
China Brake Chamber Manufacturers
China Brake Chamber Supplier
