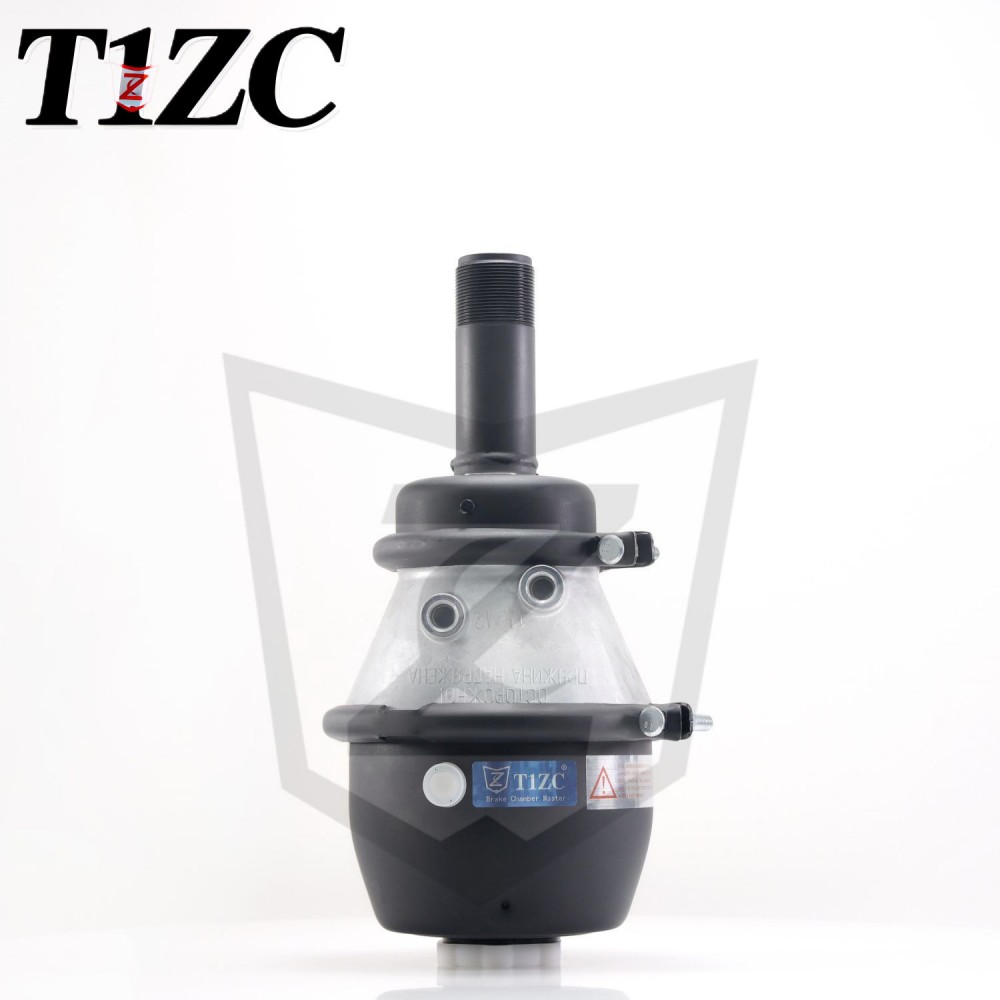
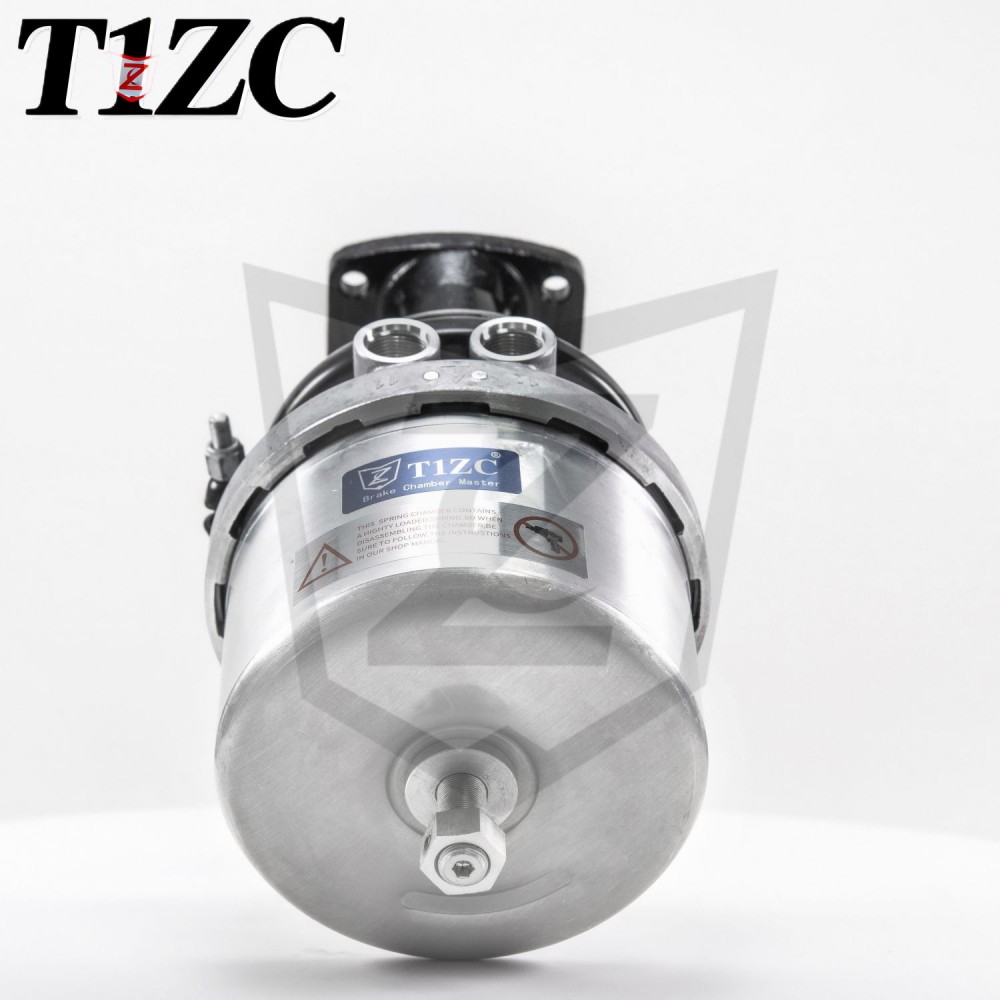
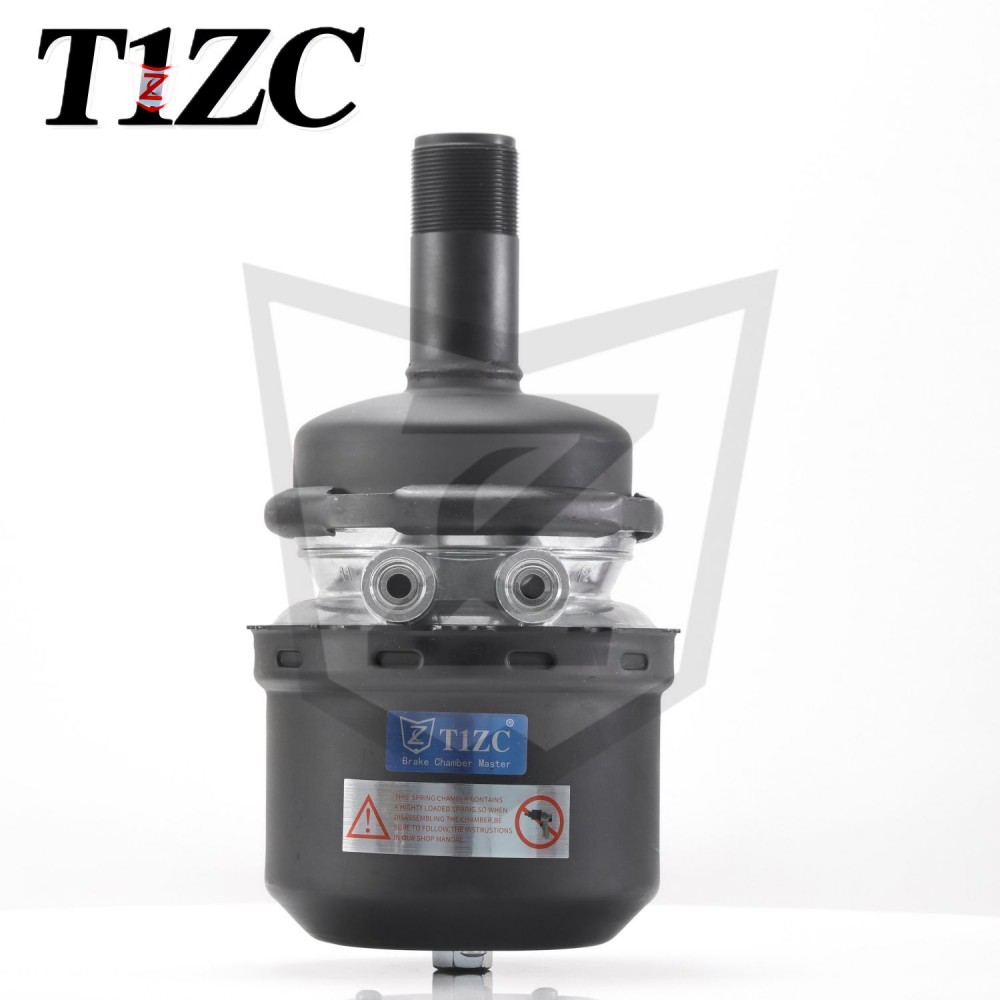
How to diagnose an air leak in your brake chamber?
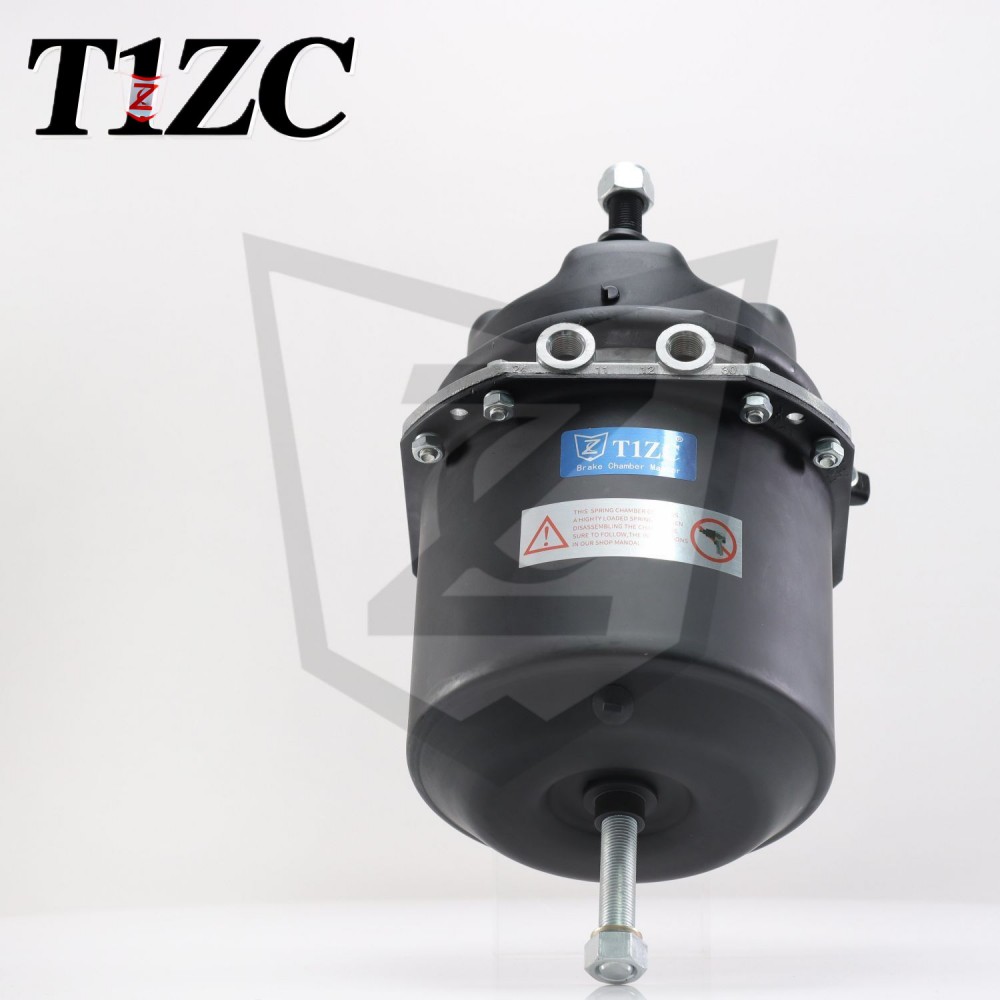
Air brake systems are the lifeblood of heavy-duty vehicle safety. Among their critical components, brake chambers convert air pressure into mechanical force to engage the brakes. An air leak within a brake chamber isn't just an efficiency concern; it's a significant safety hazard that can lead to reduced braking power, longer stopping distances, and potential system failure. Knowing how to systematically diagnose these leaks is an essential skill for any technician or vehicle operator.
Why Diagnosis Matters: Air leaks compromise the integrity of the entire air brake system. They cause the air compressor to cycle more frequently, increasing wear and fuel consumption. More critically, a leak can deplete air reservoirs faster than they can be replenished, especially during repeated braking, directly undermining braking performance and compliance with safety regulations (like FMVSS 121 and OSHA requirements).
A Step-by-Step Diagnostic Guide:
-
Preparation is Paramount:
- Park Safely: Ensure the vehicle is on level ground, the parking brake is applied, and wheel chocks are securely in place.
- Depressurize Safely: Turn off the engine and release all air pressure from the system by repeatedly pressing and releasing the brake pedal until the air pressure gauges read near zero. Engage the parking brake release (if equipped) to exhaust any spring brake pressure. Never work on a pressurized air brake system.
- Safety Gear: Wear appropriate personal protective equipment (PPE) – safety glasses are essential.
-
Initial Visual Inspection:
- Examine the Chamber: Look for obvious signs of damage, corrosion, or oil/grease contamination around the chamber body, clamps, and pushrod boot.
- Check Pushrod Stroke: Manually apply and release the service brakes (with air pressure rebuilt to normal operating range, engine running). Observe the pushrod stroke at each wheel. Stroke exceeding the manufacturer's adjustment limit can indicate internal chamber issues (like a ruptured diaphragm) but is not a definitive leak test on its own.
-
Building System Pressure:
- Start the engine and allow the air system to build to its normal operating pressure (typically 100-125 psi). Ensure the governor cuts out correctly.
-
The Soap Solution Test (Most Effective):
- Prepare Solution: Mix liquid dish soap (a few drops) with water in a spray bottle. Avoid harsh chemicals.
- Apply Liberally: With the engine running and system at full pressure, thoroughly spray the soapy solution over the entire surface of the brake chamber. Pay particular attention to:
- The seam where the two halves of the chamber are clamped together.
- Around the pushrod where it exits the chamber (check the boot integrity).
- Around the air inlet port and any other fittings on the chamber.
- The chamber mounting bolts and surfaces.
- Observe Carefully: Look closely for the formation of bubbles. Bubbles indicate the location of an air leak.
- Small Bubbles: May indicate a slow leak.
- Rapid Bubbling/Streams: Indicates a significant leak requiring immediate attention.
-
Listening for Leaks:
- While the system is pressurized, listen carefully around each brake chamber. A distinct hissing sound often accompanies larger leaks. This can be useful for a quick initial check but is less reliable than the soap test for pinpointing smaller leaks or their exact location. Using a mechanic's stethoscope can help isolate the sound source.
-
Testing Under Brake Application:
- Have an assistant firmly apply and hold the brake pedal while the engine runs and system pressure is normal.
- Reapply the soap solution to the chamber. Some leaks, particularly internal diaphragm leaks, may only become evident when pressure is actively applied to move the pushrod. Watch for bubbles forming during application.
Interpreting Results & Next Steps:
- No Bubbles/No Sound: The chamber itself likely does not have an external leak at this time. Continue checking other system components (hoses, valves, fittings, reservoirs).
- Bubbles/Sound Detected: You have confirmed an air leak at the brake chamber. Important: Do not operate the vehicle. The nature of the leak determines the repair:
- Leaks at the clamp seam or pushrod boot often require chamber replacement.
- Leaks at air line fittings may only require tightening or fitting replacement (ensure correct thread type and sealant if applicable – follow OEM specs). However, any leak originating from the chamber body or its core sealing points necessitates professional assessment and likely chamber replacement.
Diagnosing air leaks in brake chambers is a fundamental and vital aspect of commercial vehicle maintenance. The soap solution test remains the most accessible and reliable method for technicians to accurately identify the source of a leak. Regular inspection and prompt diagnosis of air leaks are not merely good practice; they are critical actions that uphold vehicle safety, operational efficiency, and regulatory compliance. Always prioritize safety procedures and consult the vehicle manufacturer's service documentation for specific repair instructions.


 EN
EN  English
 Português
