
 EN
EN  English
 Português
Application Industry
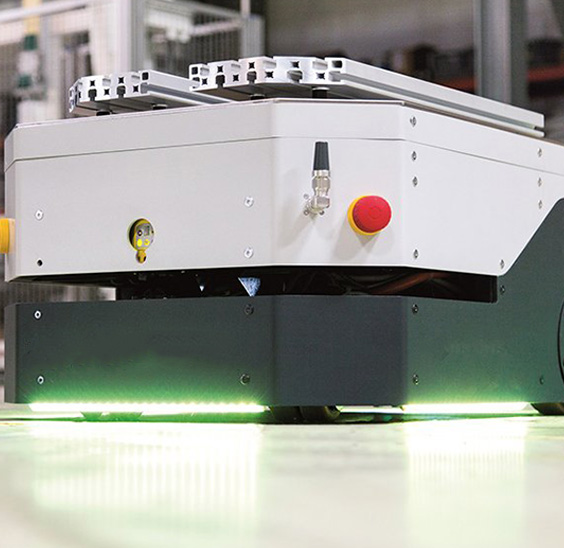
AGV

Automated robots
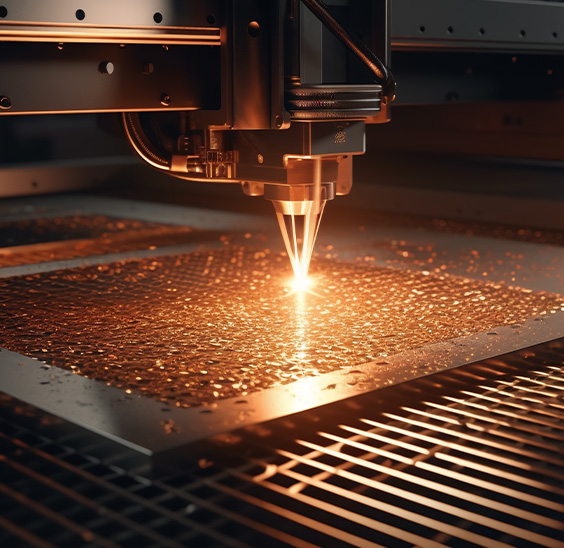
laser cutting

Logistics sorting

Photovoltaic power-station
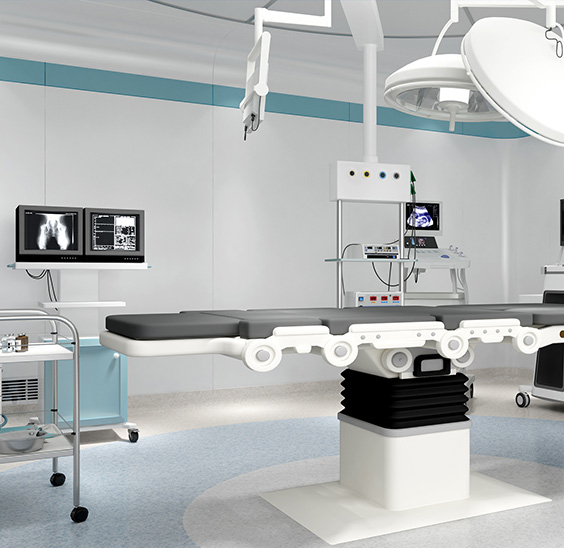
Medical devices
How to install a brake chamber correctly?
Maintaining optimal braking performance is critical for vehicle safety and compliance. The brake chamber is a fundamental component of air brake systems, converting air pressure into mechanical force to activate the brakes. Incorrect installation can lead to reduced braking efficiency, premature wear, or complete system failure.
1. Pre-Installation Preparation
Prior to any work, ensure the vehicle is on a level surface, the wheels are chocked, and the parking brake is applied. Deplete all air pressure from the system by repeatedly pressing and releasing the brake pedal until the air pressure gauges read zero. Personal protective equipment should be worn.
Gather the necessary tools and the correct replacement brake chamber. Verify that the new brake chamber's type (e.g., standard, long-stroke) and size (e.g., 9, 12, 16, 20, 24, 30) exactly match the OEM specifications for the axle it is being installed on. Inspect the new unit for any shipping damage.
2. Removal of the Faulty Brake Chamber
Identify and safely disconnect the air supply line from the old brake chamber. Use a backup wrench to prevent damaging the line fitting. Cap the open air line immediately to prevent contamination.
Remove the clevis pin and spring clip that connect the pushrod to the slack adjuster. Note the position and orientation of the components for reassembly.
Unfasten the mounting bolts or clamp that secure the brake chamber to its mounting bracket. Carefully remove the unit.
3. Installation of the New Brake Chamber
Thoroughly clean the mounting bracket surface to ensure a secure fit.
Position the new brake chamber onto the bracket, aligning the pushrod with the hole in the slack adjuster. Secure it using the specified hardware, tightening the bolts or clamp to the manufacturer's recommended torque values.
Connect the pushrod to the slack adjuster with the clevis pin and secure it with a new spring clip. It is crucial that the pushrod is not twisted or bent during this process.
Uncap and reconnect the air supply line to the brake chamber port, using a backup wrench to avoid stripping the fittings. Ensure the connection is tight and secure.
4. Post-Installation Testing and Adjustment
Before moving the vehicle, perform a thorough inspection. Check all connections for security.
Start the vehicle's engine and allow the air system to build to its normal operating pressure (typically 100-125 psi).
With the parking brake released and the system pressurized, apply and release the service brake repeatedly. Listen for any air leaks around the new brake chamber connections and inspect the pushrod stroke.
It is mandatory to measure the pushrod stroke. The stroke must be within the legal limits specified by the Department of Transportation (DOT) and the vehicle manufacturer. If the stroke is excessive, it indicates an issue with the installation, the slack adjuster, or other components that must be addressed immediately.
Finally, test the parking brake function by applying and releasing it to confirm the brake chamber disengages and engages correctly.
The correct installation of a brake chamber is a precise task that directly impacts road safety. Adherence to these procedures, along with strict compliance with the vehicle manufacturer's guidelines and all applicable regulations, is non-negotiable. Always consult the specific service manual for the vehicle in question and consider having the final installation and brake adjustment verified by a qualified technician.
Related products
-

This brake chamber adopts a unique wedge-shaped design, combines advanced braking technology and high-quality materials, and is designed to provide stable, reliable and efficient braking performance t...
See Details -

DP WEDGE BRAKE CHAMBER F-Series Regular Release This product is specially designed to meet the market's demand for efficient, stable and reliable braking systems. It uses advanced wedge braking techno...
See Details


CONTACT DETAILS
- Phone: +86-198 1775 0319
- TEL: +86-575 8909 8166
- E-mail: sale@t1zc.cn
- Office Address: 122-2 Busen West Road, Fengqiao Town, Zhuji, Zhejiang, China
If You Are Intrested
In Our Products,
Please Consult Us
Copyright © ZHUJI TEYI IMPORT&EXPORT CO.,LTD. All Rights Reserved.
China Brake Chamber Manufacturers
China Brake Chamber Supplier
