
 EN
EN  English
 Português





A brake chamber caging tool is a long threaded steel bolt that screws into the back of a spring brake chamber and mechanically compresses the power spring inside it. Once that spring is caged, the parking brake releases and the push rod retracts, so a rig with a blown chamber can be pulled off the road or torn down for service without the spring turning the chamber's clamp band into shrapnel. The tool itself looks unremarkable, usually a 9/16"-18 or 5/8"-18 threaded rod about 8 inches long with a hex head, but the wrong thread, a corroded caging hole, or a skipped step is how people get hurt.
Content
- What a Brake Chamber Caging Tool Actually Does
- Why the Power Spring Has to Be Caged Before You Touch Anything
- Caging Tool Thread Sizes, Lengths and Fit
- How to Cage a Spring Brake Chamber, Step by Step
- When the Tool Will Not Thread or the Brake Will Not Release
- What to Look For When Buying a Caging Tool
- Storage, Inspection and Field Practice
- Frequently Asked Questions
What a Brake Chamber Caging Tool Actually Does
A caging tool is the manual override for the parking-brake spring and nothing more than that.
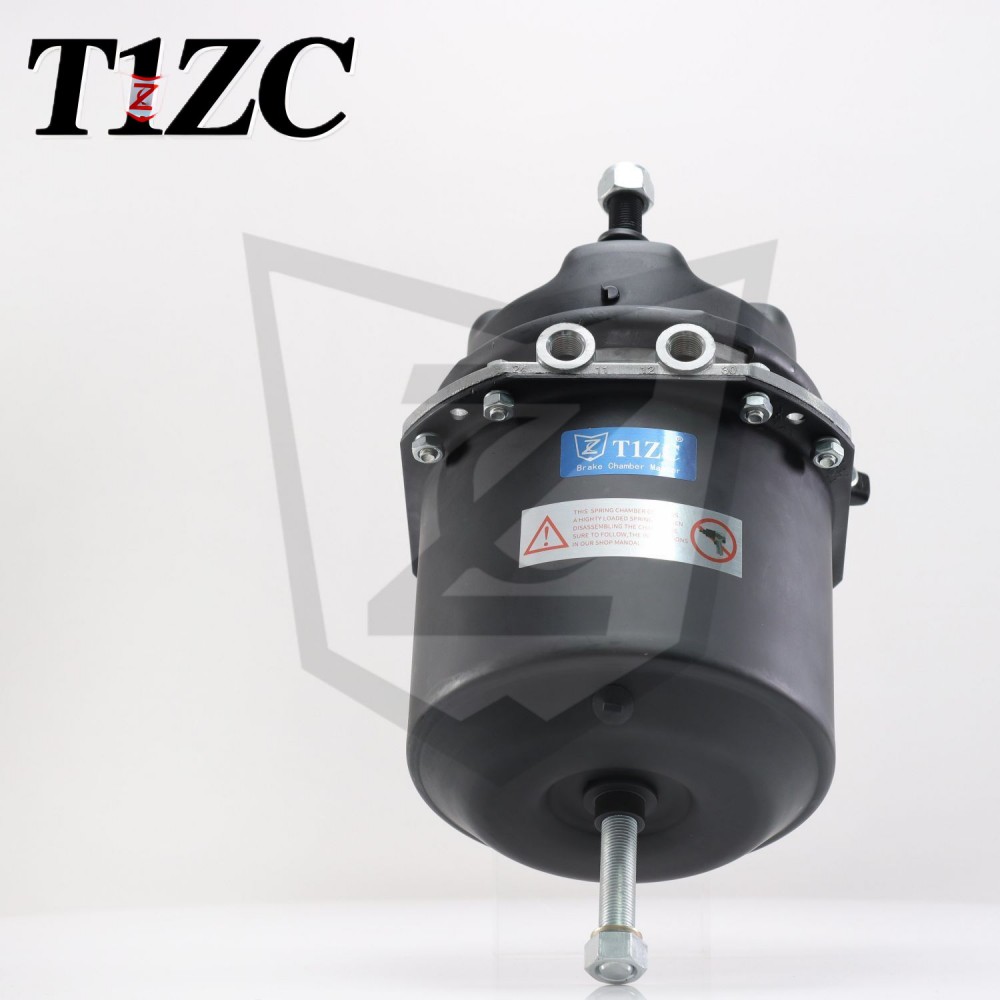
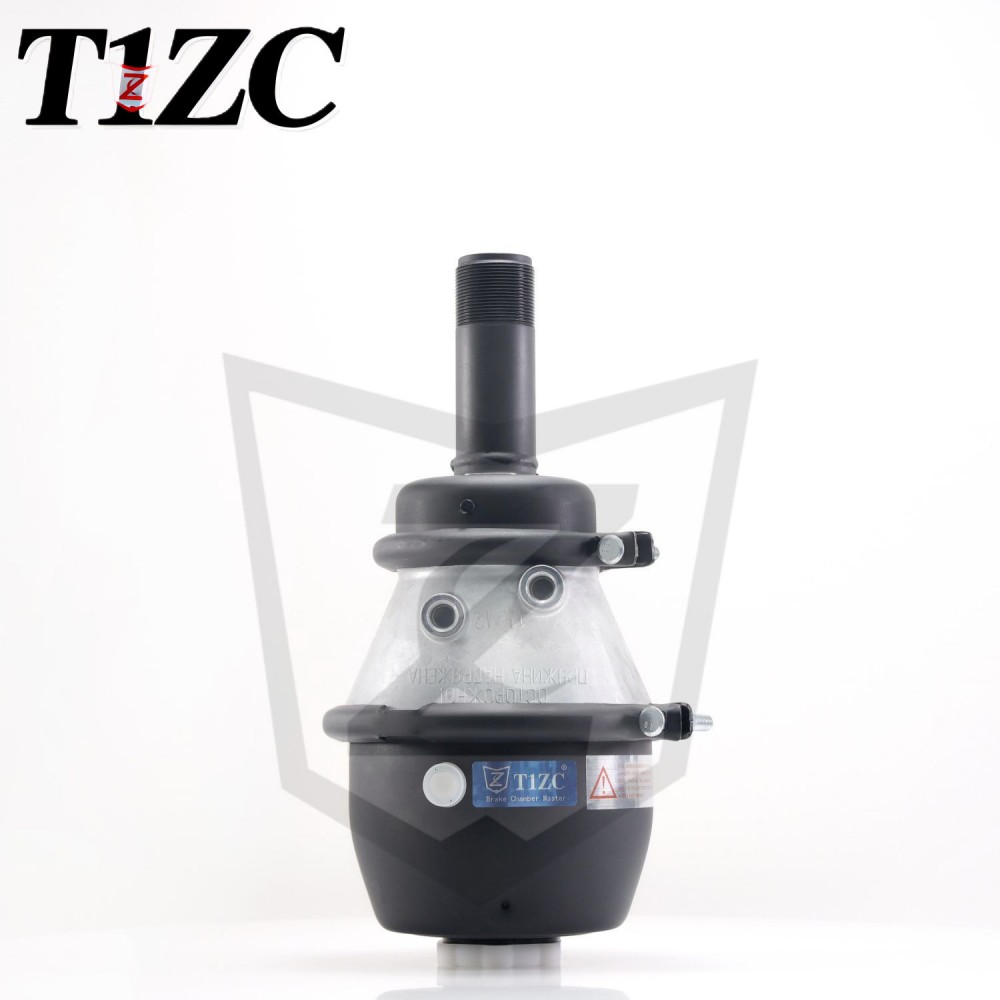
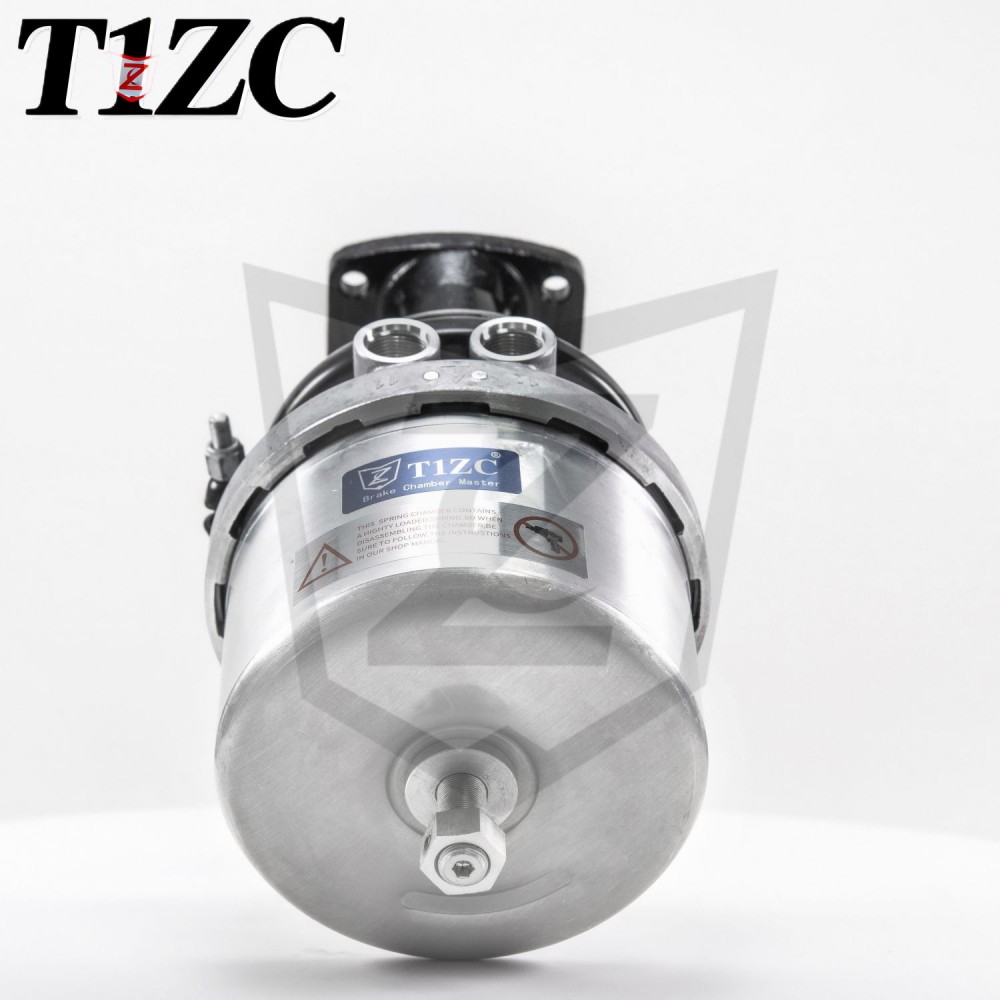
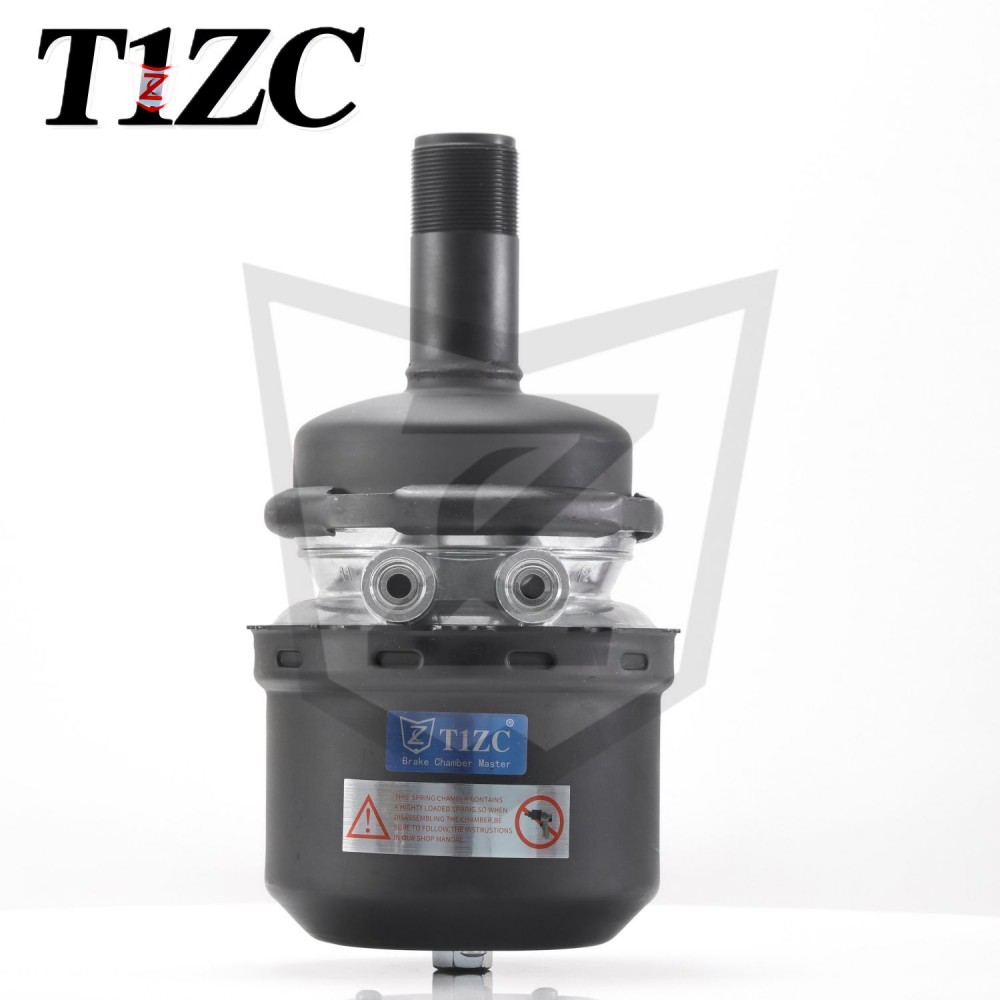
A spring brake chamber, often described as a double-diaphragm or DD chamber, splits one housing into two working halves. The service side applies the brakes when air pressure pushes the service diaphragm and push rod outward. The parking side holds a heavy coil spring that stays compressed as long as air pressure keeps it pushed back. Lose that pressure, whether from a ruptured diaphragm, a cut hose or a failed valve, and the spring extends, applies the brake, and locks the wheels.
The caging tool is what lets a technician take over that job by hand. It threads into the caging hole in the chamber's end dome, which is normally sealed by a small plastic or rubber plug. As the tool turns in, its tip reaches the spring plate and slowly pushes the spring back toward its compressed position. When the tool bottoms out, the threads, not the air system, are holding the spring. The parking brake is off and the push rod is retracted.
Two practical consequences follow. Caging repairs nothing; it only locks a spring that would otherwise be free to extend. And the tool carries the full stored energy of the spring, which is why thread condition matters far more than the finish on the shank.
Why the Power Spring Has to Be Caged Before You Touch Anything
You never loosen a spring brake chamber's clamp band, hose fittings or mounting nuts until the power spring is mechanically locked.
The power spring in a commercial spring brake chamber stores several hundred to well over a thousand pounds of force, and it does not care whether the chamber is bolted to an axle or sitting on a bench. Service manuals across the industry treat caging as the first step of every chamber procedure for that reason. A chamber that has already failed is the harder case: when a diaphragm ruptures, the parking spring applies and stays applied, so the vehicle will not roll. Caging that chamber with the correct tool is what allows the wheels to turn so the truck can be moved to a bay or a shoulder instead of being dragged.
Sealed construction helps here. A fully sealed diaphragm chamber keeps water, salt and road grit away from the caging threads and the spring cavity, which is exactly the area that decides whether a caging tool will thread in smoothly after three winters of road spray.
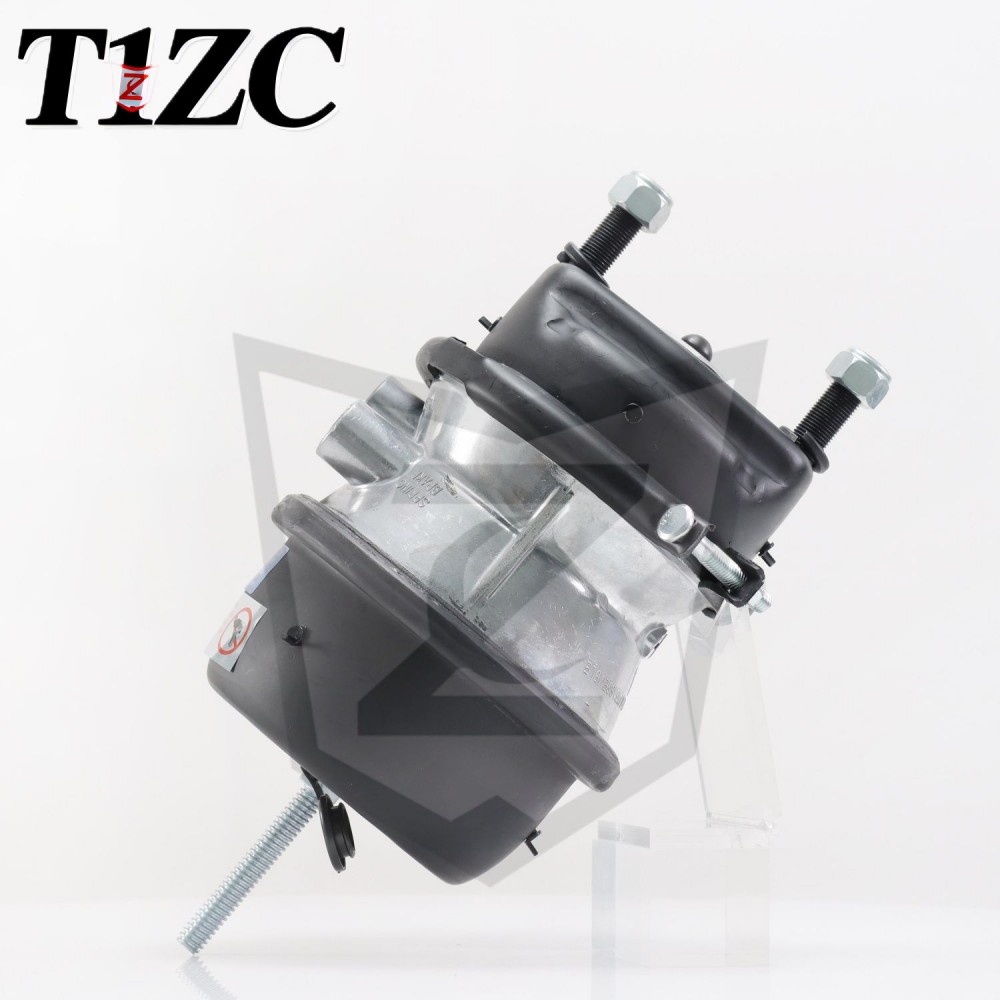 All Sealed Air Disc Brake Chamber for Heavy VehiclesFully sealed air disc brake chamber for heavy vehicles; the sealed diaphragm design helps protect caging threads and spring cavity from road spray.View Product →
Caging Tool Thread Sizes, Lengths and Fit
There is no single universal caging tool; the thread and the reach have to match the chamber.
Two dimensions decide whether a caging tool works: the thread that mates with the caging hole, and the length that lets the tool reach the spring plate and still leave room for a wrench. A third dimension, the hex head, decides whether you can turn it with the tools already in the truck box.
| Tool type | Thread | Usual length | Typically matched to |
|---|---|---|---|
| Standard cage bolt | 9/16"-18 UNF | 8 in | Type 24 and Type 30 spring chambers, most North American tandem chambers |
| Heavy-duty cage bolt | 5/8"-18 UNF | 8 in | Larger Type 30/30 parking sections, heavy trailer axles |
| Metric cage bolt | M16 x 2.0 | 200 mm | Certain European and Asian spring chambers |
| Short cage bolt | 9/16"-18 UNF | 4 to 6 in | Chambers mounted with limited clearance to the frame or suspension |
The common mistake is assuming that a 9/16"-18 tool will fit every chamber on the lot. A metric caging hole will not accept it, and forcing an inch thread into a metric hole ruins the hole and leaves you with a chamber that can no longer be caged at all.
How to Cage a Spring Brake Chamber, Step by Step
Sequence matters more than force: the tool goes in by hand first, and the wrench only comes out at the end.
- Park on level ground, chock the wheels, shut the engine down and make sure the parking brake is applied.
- Bleed air system pressure before you go under the vehicle, and confirm the chamber you are working on holds no residual pressure.
- Locate the caging hole in the chamber's end dome and remove the plastic or rubber plug.
- Inspect the threads. They should be clean and dry, with no rust scale and no signs of cross-threading. A wire brush and a drop of penetrating oil help.
- Start the caging tool by hand. It should turn in smoothly for the first several rotations; if it binds early, back it out and inspect again.
- Continue turning with a wrench once the tool contacts the spring plate. The resistance will build steadily as the spring compresses.
- Watch the push rod. It retracts toward the chamber as the spring is caged. Stop when it is fully retracted and the tool is snug, not torqued hard against the plate.
- Verify the result: with the parking brake knob still pulled, the wheel should spin freely. Leave the tool in place until the chamber is replaced, then reverse the procedure, refit the dome plug, restore air pressure and test the brake before the vehicle moves.
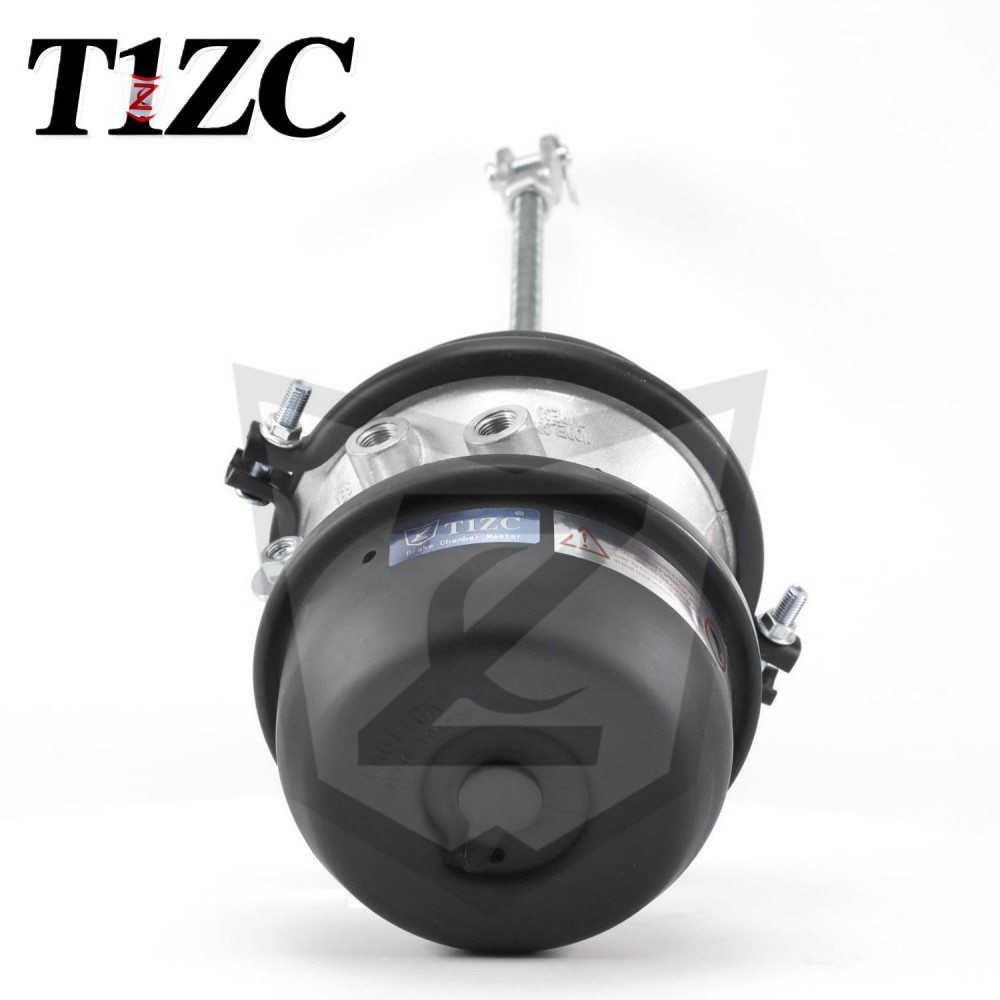 Regular S-Cam DD Brake Chamber for Commercial VehiclesClassic S-cam double-diaphragm brake chamber for trucks and buses, suited to applications where caging and release need correct sequence rather than extra force.View Product →
When the Tool Will Not Thread or the Brake Will Not Release
If the caging tool will not thread in or the brake stays applied after caging, stop and diagnose instead of applying more leverage.
| Symptom | Likely cause | What to do |
|---|---|---|
| Tool binds within the first few turns | Rusted, painted-over or previously cross-threaded caging hole | Clean the threads, chase them only with the chamber off the vehicle, and never force the tool |
| Tool turns in freely with no resistance | Stripped threads or a displaced spring plate | Treat the chamber as non-cageable and plan a replacement rather than a roadside fix |
| Tool bottoms out but the push rod stays extended | Broken power spring or a seized internal component | Isolate the air line and remove the chamber under controlled conditions |
| Wheel still drags after caging | Service side still pressurized, or an over-tightened slack adjuster | Bleed the service side, recheck adjustment, and confirm the parking side is the only circuit in play |
When a chamber simply refuses to cage, the goal shifts from repair to safe movement. The procedure for plugging air lines, isolating a damaged can and rolling the vehicle to a safe location is worth reading before you need it, and a walkthrough of manually releasing a stuck brake chamber covers that sequence in detail.
What to Look For When Buying a Caging Tool
Buy by thread specification and material first, then buy one for every truck plus a spare for the shop.
- Thread specification. Match the tool to the chambers in your fleet instead of buying a generic "cage bolt." A parts list that names the chamber model is the fastest way to get this right.
- Material and finish. Zinc-plated or stainless steel resists the road salt that seizes inch threads. Black oxide looks good in a catalog and rusts in a wheel well.
- Length and reach. Eight inches covers most Type 24 and Type 30 chambers. Short-body tools exist for tight installations, but they offer less wrench clearance.
- Head size. A 3/4 inch hex head turns with the same wrench most drivers already carry, which matters when the tool is used at the roadside rather than in a bay.
- Quantity. One caging tool per tractor is a reasonable minimum, with a spare kept with the shop's chamber stock. Losing the only tool on the truck turns a 20 minute job into a tow.
- Chamber compatibility. If you are specifying new chambers alongside tools, choose hardware whose caging hole is a documented, standard thread. Release behavior matters too, and a quick-release design that retracts the push rod cleanly makes caging and post-repair checks easier to verify.
 Quick Release DP Disc Brake Chamber for Heavy Commercial VehiclesQuick-release disc brake chamber for heavy trucks and machinery, with emergency brake-pressure release; choose by thread specification and material and keep spares.View Product →
Storage, Inspection and Field Practice
A caging tool is a safety device, so it deserves the same care as a torque wrench.
- Keep the threads lightly oiled and store the tool in a dry box, not loose in a cab floor where grit grinds into the thread crests.
- Inspect before each use for bent shanks, flattened threads and rounded hex heads. A chewed-up head is a warning that someone has been using the tool as a pry bar.
- Never use a caging tool as a substitute for a proper puller, a punch or a lever. It is designed for axial load only.
- Replace the dome plug whenever it is missing. An open caging hole lets water into the spring cavity and starts the corrosion that makes caging impossible.
- Record the chamber models in your fleet and the matching tool thread in the shop's parts notes, so the next technician does not have to guess at the roadside.
Frequently Asked Questions
Can you drive with a caging tool installed?
Only far enough to reach a safe location or a workshop. A caged chamber has no parking brake on that axle, and the tool is not rated to hold the spring indefinitely against vibration and load.
How far should a caging tool be threaded in?
Until the push rod is fully retracted and the tool is snug against the spring plate. If you have to force it past that point, something is wrong with the spring or the thread, and the chamber should be replaced rather than caged harder.
Are all caging tools the same thread?
No. Inch threads such as 9/16"-18 and 5/8"-18 cover many North American chambers, while metric M16 x 2.0 tools fit others. Check the chamber specification before you buy, because a forced fit damages the caging hole permanently.
Does caging a brake chamber damage it?
Proper caging with the correct tool does not damage a healthy chamber. Damage usually comes from forcing the wrong thread, from using the tool as a lever, or from leaving the caging hole open so water reaches the spring cavity.
Treat the caging tool as the first line of defense in spring brake work, not an afterthought in the bottom of a toolbox. Confirm the thread against the chamber model, keep the tool clean and dry, and follow the hand-tight-first sequence every time. That combination is what turns a failed chamber from a roadside emergency into a routine repair.