
 EN
 English
 Português





A brake chamber diaphragm replacement is the right repair when the rubber is the only damaged part: a split, swollen, or oil-soaked disc inside a clean housing with an intact clamp band. If the housing is cracked, the pushrod is bent, the band is rusted, or the chamber is more than five years old, replace the whole assembly instead — new rubber will not fix a worn bore or a tired spring.
Content
- What the Diaphragm Does
- Diaphragm Swap or Full Chamber Replacement?
- Warning Signs the Diaphragm Has Already Failed
- Tools, Torque and Tolerances Before You Start
- Step-by-Step Diaphragm Replacement
- The Safety Step People Skip: Caging a Spring Brake Chamber
- Matching the Replacement Diaphragm and Chamber
- Why a New Diaphragm Fails Early
- Frequently Asked Questions
- The Bottom Line
What the Diaphragm Does
The diaphragm is a reinforced rubber disc clamped between the two halves of a brake chamber. It is the part that turns air pressure into movement: air pushes the rubber, the rubber pushes a plate, and the plate drives the pushrod that applies the brake.
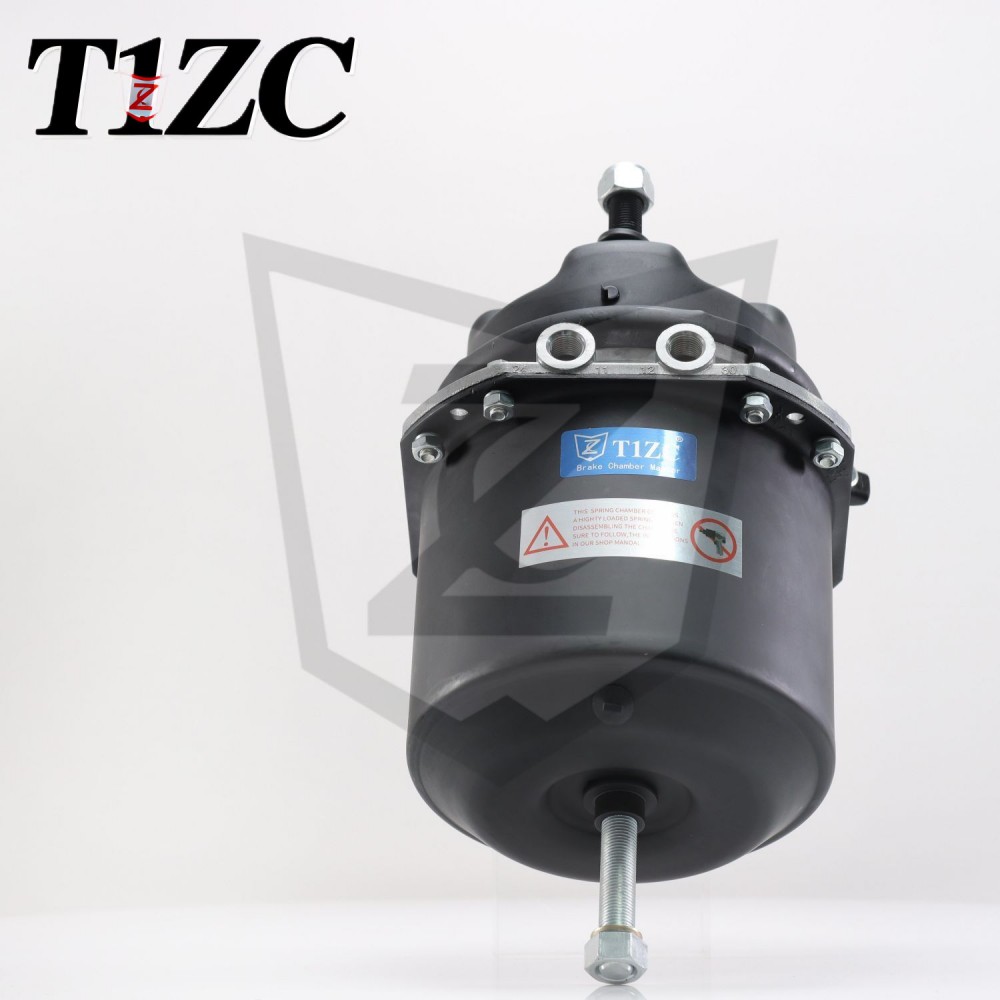
Layouts are not interchangeable. A service chamber usually holds one diaphragm in a nominal size such as 20, 24, or 30. A spring brake chamber — often written as a double-diaphragm or DD unit — stacks two discs inside one housing, so a 30/30 has one for service braking and one for the parking spring. Disc chambers run longer strokes and use a different internal stack, which means a disc diaphragm will not fit an S-cam chamber of the same nominal size.
Diaphragm Swap or Full Chamber Replacement?
Judge the housing and the pushrod, not the price gap between a disc of rubber and a complete chamber.
| What you find | Correct action | Why it matters |
|---|---|---|
| Rubber split or pinched at the clamp band; bore clean and dry | Replace the diaphragm only | Housing, spring and pushrod are still within specification |
| Oil, water or compressor carry-over inside the housing | Replace the diaphragm and fix the air dryer | New rubber is attacked again within weeks if the bore stays contaminated |
| Pushrod bent, scored or heavily corroded | Replace the complete chamber | A worn pushrod seal leaks and makes stroke adjustment unreliable |
| Cracked housing, dented cover, or a rusted clamp band | Replace the complete chamber | The band and housing are load-bearing parts, not just covers |
| Parking brake will not hold, or the caging bolt will not seat | Replace the complete chamber | Stored spring energy makes field repair unsafe |
Warning Signs the Diaphragm Has Already Failed
Most diaphragm failures announce themselves before the brakes stop working.
- A steady hiss, or bubbling soap solution, at the clamp band when the brakes are applied and released.
- Service brakes that release slowly, or a drum that overheats because the shoes drag.
- A parking brake that creeps on a slope — that points to the parking diaphragm.
- Pushrod stroke beyond the chamber's published limit; many standard clamp-type 30/30 units sit near 1 3/4 to 2 inches, with long-stroke versions allowed more.
- A rubber flap, bulge, or dark oily film visible once the clamp band is loosened.
Tools, Torque and Tolerances Before You Start
Four things make the job safe and repeatable: zero air pressure, the correct part number, a calibrated torque wrench, and a caging tool if there is a spring inside the housing.
- Diaphragm matched by size, chamber family and rubber compound.
- A new clamp band if the original is stretched, kinked or rusted; many manufacturers treat bands as single-use items.
- Calibrated torque wrench — over-tightening distorts the band and creates the leak you were trying to fix.
- Caging bolt or tool, wheel chocks and eye protection.
- Leak-detection spray plus a ruler or stroke gauge for the final check.
Step-by-Step Diaphragm Replacement
- Park on level ground, chock the wheels, then drain the system and pump the pedal until both gauges read zero — usually 15 to 25 applications.
- On a spring brake chamber, fit the caging tool and fully cage the spring before touching the clamp band.
- Mark the band, both housing halves and the air ports with a paint pen so everything goes back in the same orientation.
- Loosen the band bolts evenly, alternating side to side, and keep the halves together until you are ready to open them.
- Separate the halves just far enough to lift the old diaphragm out, leaving the spring seated.
- Clean the bore with a lint-free cloth and inspect for oil, water, pitting or a scratched piston; any of those means the chamber should be replaced.
- Seat the new diaphragm so its bead sits fully in the groove, and never stretch, fold or grease the rubber to make it fit.
- Reassemble and torque the band in a cross pattern to the manufacturer's figure.
- Remove the caging tool, restore air pressure, and spray soapy water around the band, ports and pushrod seal.
- Measure the pushrod stroke at full pressure and compare it with the chamber's limit; adjust the slack adjuster if it is long.
The Safety Step People Skip: Caging a Spring Brake Chamber
A spring brake chamber stores enough energy in its coil spring to kill someone standing in front of it, and the spring does not care that the truck is switched off.
Never open a spring brake chamber by cutting the clamp band while air is still in the system, and never assume the parking brake is released just because the dash light is off. Cage the spring with the correct tool, keep your body out of the pushrod's line of travel, and wear eye protection. If the housing is dented, the band is rusted through, or the caging bolt will not seat, that chamber is a replacement item, not a workshop project.
Matching the Replacement Diaphragm and Chamber
Three details decide whether the part you order will fit: chamber size (24, 30, 30/36, T16, T24, T30 and similar), chamber family (S-cam, wedge or disc), and release design (regular, quick, inner or long cylinder).
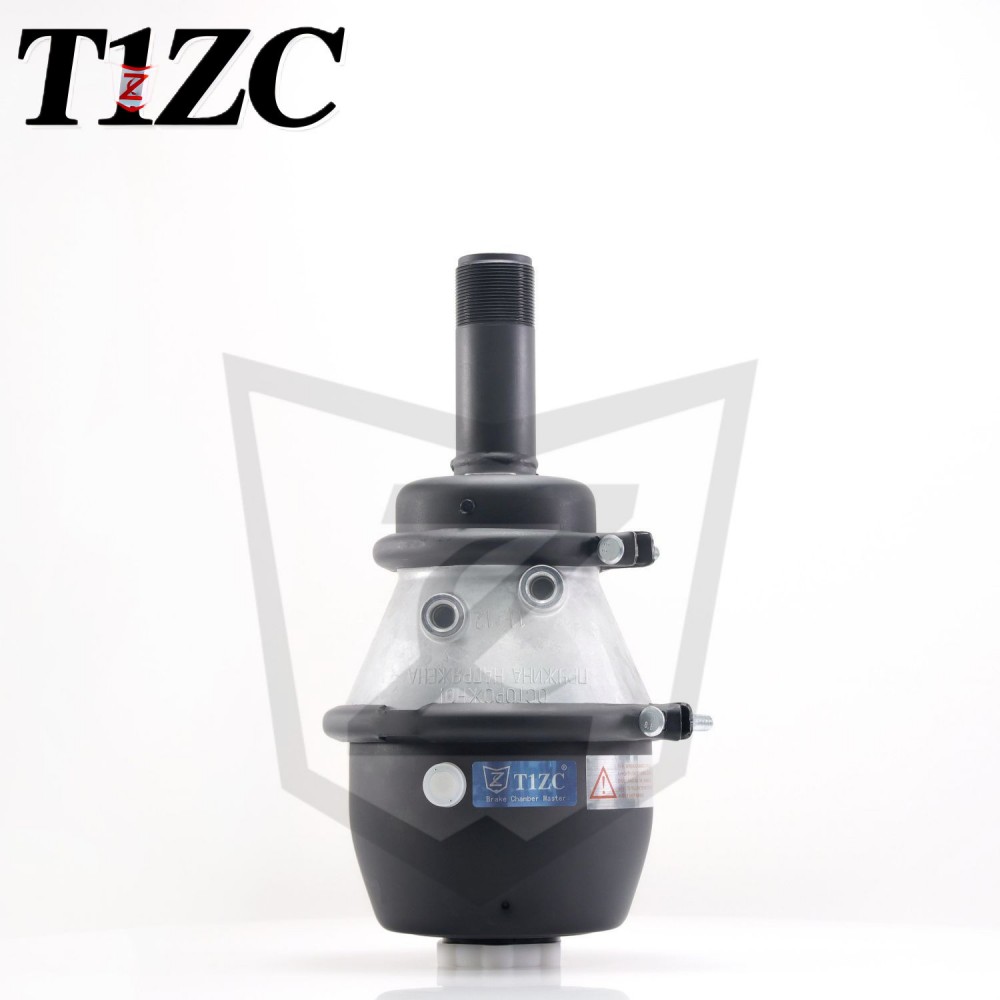
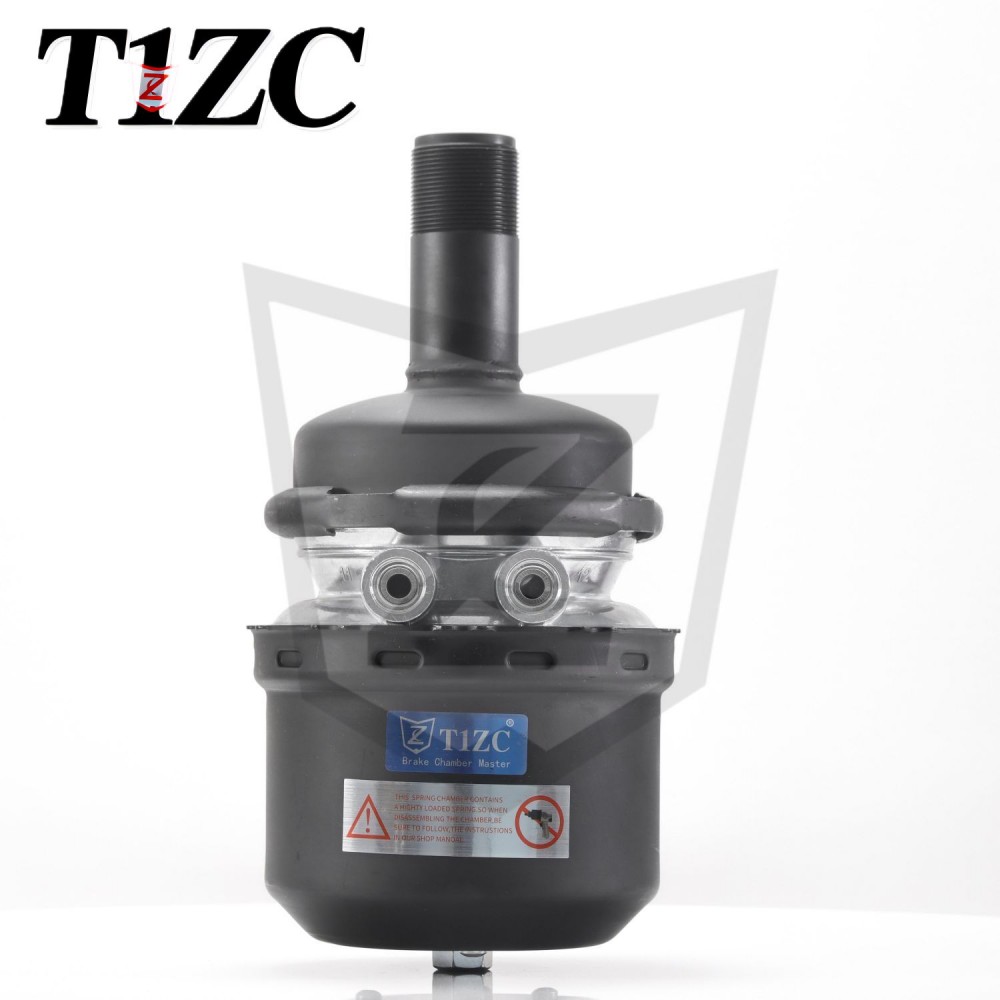
On double-diaphragm disc chambers the service and parking diaphragms are separate parts, and an all-steel, fully sealed body is the version that keeps water and road salt away from both discs — usually the reason this family survives long duty cycles on trailers and tippers.
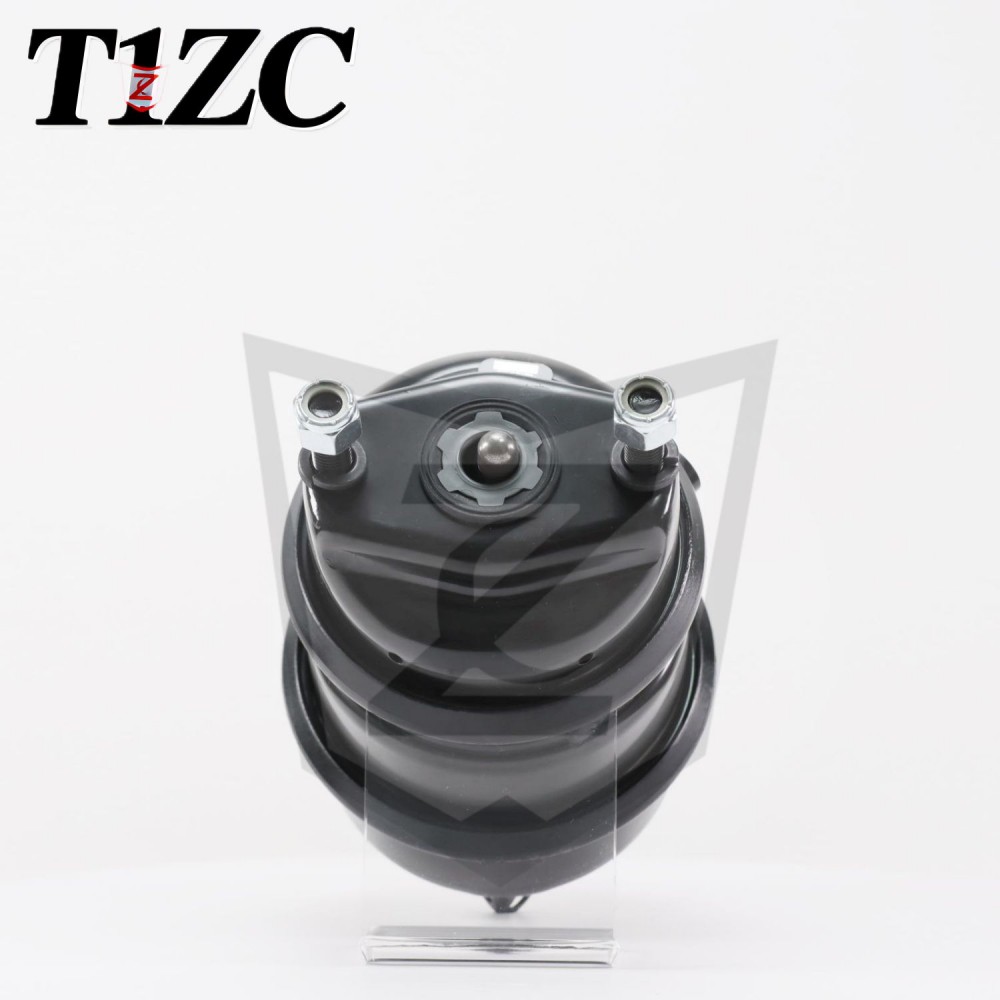 All-Steel Double Diaphragm Disc Brake ChamberSealed all-steel double-diaphragm disc chamber for heavy-duty vehicles and trailers, suited to long duty cycles where road salt and water resistance matter.View Product →
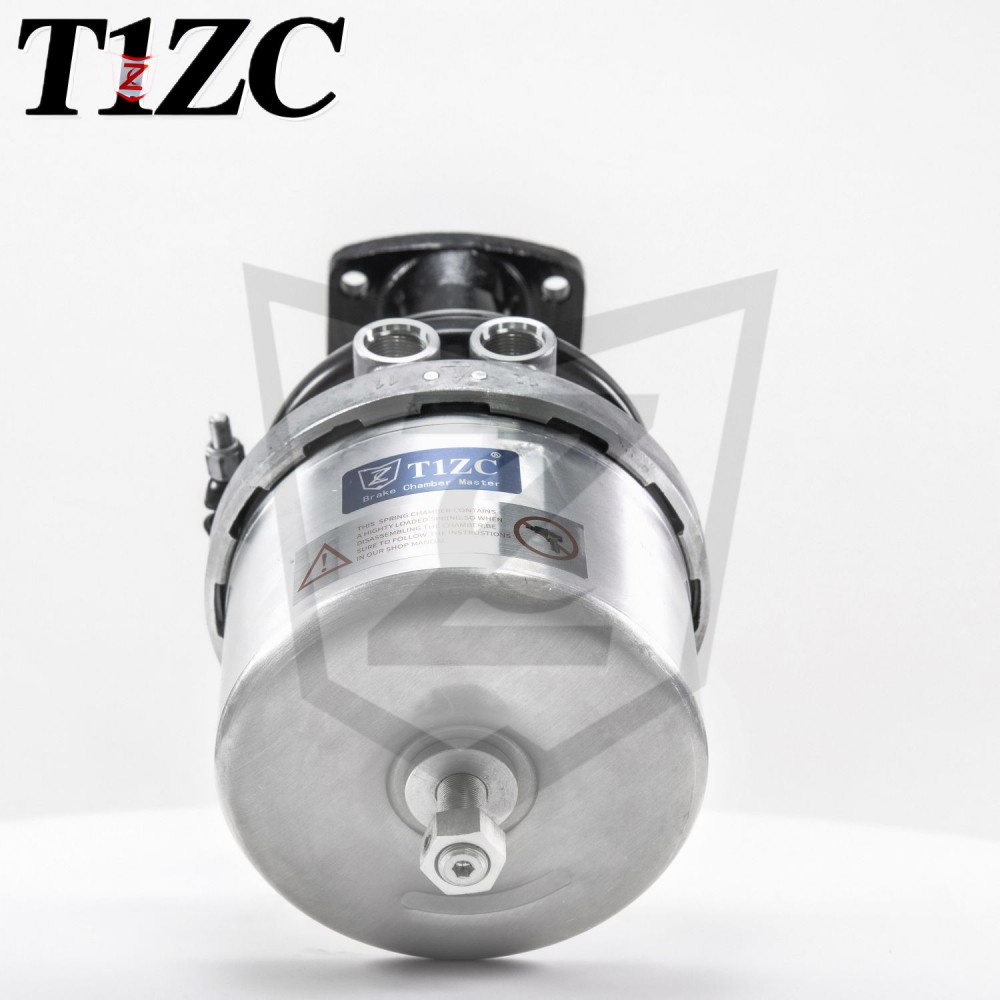
Regular-release disc chambers take a more conventional path: one diaphragm, a predictable release curve, and a bore that is easy to inspect at every brake service. They suit fleets that want a low-cost, high-availability part rather than the shortest possible release time.
 Regular Release Disc Brake ChamberConventional single-diaphragm disc chamber for trucks and commercial vehicles, offering predictable release, easy bore inspection and a low-cost, high-availability option for fleets.View Product →
S-cam chambers follow the same logic on drum brakes. A regular DD S-cam unit built for Russian-market and similar heavy truck applications holds a service diaphragm and a parking diaphragm inside one body, so one clamp band service covers both halves of the braking job.
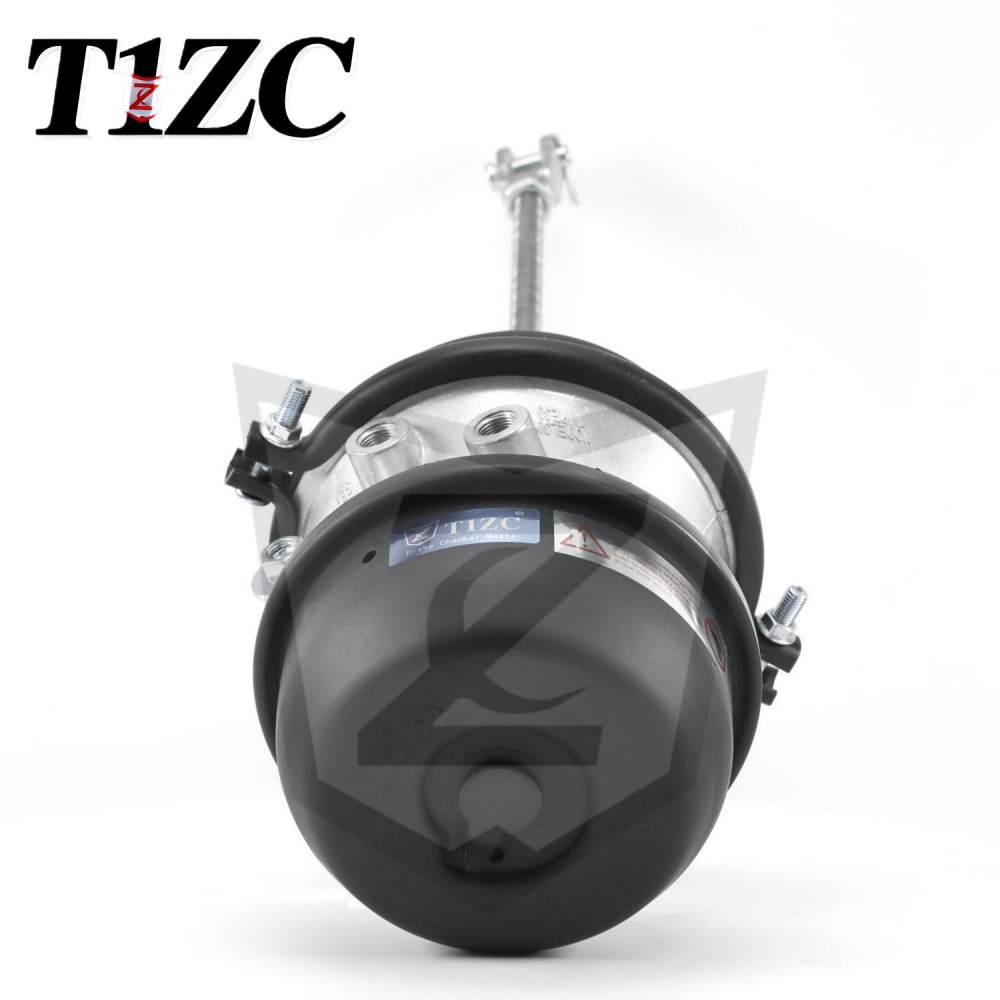 Regular S-Cam Double Diaphragm Brake ChamberDual-diaphragm S-cam chamber for drum brakes on heavy trucks and buses, combining service and parking functions in one body for high-frequency, heavy-load routes.View Product →
Why a New Diaphragm Fails Early
If the second diaphragm fails inside a year, the rubber was rarely the problem.
- Water in the air system, because a saturated air dryer sends moisture straight into the housing.
- Oil carry-over from a worn compressor, which swells nitrile rubber.
- Alcohol or glycol additives in a system that was not designed for them.
- The wrong compound for a hot-running position near the drum.
- An over-torqued or misaligned clamp band that pinches the bead.
- A slack adjuster left out of adjustment, holding the chamber at the end of its stroke.
A ten-minute leak check during routine maintenance catches most of these before the rubber tears — the routine air-leak inspection method covers the test points worth spraying at every service.
Frequently Asked Questions
How long does a brake chamber diaphragm replacement take?
Roughly 30 to 45 minutes per chamber once the air is drained and the wheels are chocked. Add time for caging a spring brake chamber, and more if a rusted band has to be cut off.
Can I replace just the diaphragm in a spring brake chamber?
Only with the spring fully caged and only if the housing, band and pushrod are sound. Most workshops replace the complete assembly, because the price of a new chamber is small next to the risk of a spring releasing mid-job.
How often should brake chamber diaphragms be replaced?
Follow the vehicle manufacturer's inspection interval and check stroke and leaks at every brake service. On heavy trucks, diaphragms commonly last three to five years; heat, moisture and dirty air can halve that.
How do I know it is the diaphragm and not a valve or a line?
Spray soapy water at the clamp band, the air ports and the pushrod seal. Air escaping at the band or pushrod points to the diaphragm; air escaping at the valve or along a line means the chamber is probably fine.
Should both chambers on an axle be replaced at once?
Ideally yes. Two chambers on the same axle wear at the same rate, and replacing one usually means opening the other within a few months. A matched pair also keeps braking balance even.
The Bottom Line
Replace the diaphragm when the rubber is the only casualty, and replace the chamber when the housing, band, spring or pushrod shows wear. Match size, family and release design before ordering, cage the spring every single time, and verify stroke after the repair — those four habits decide whether the job lasts five years or five weeks.
If you are stocking parts rather than fixing one truck, the full brake chamber range covers single, DD and DP chambers across S-cam, wedge and disc families, so one order can cover several vehicle platforms.