
 EN
 English
 Português




A brake chamber that hisses, hangs, or shows an overlong pushrod stroke should be taken out of service and diagnosed before it is adjusted again. Brake chamber repair is not a cosmetic exercise; it is a safety decision about seals, diaphragms, springs, housings, and the release path that returns the brakes to a non-applied position.
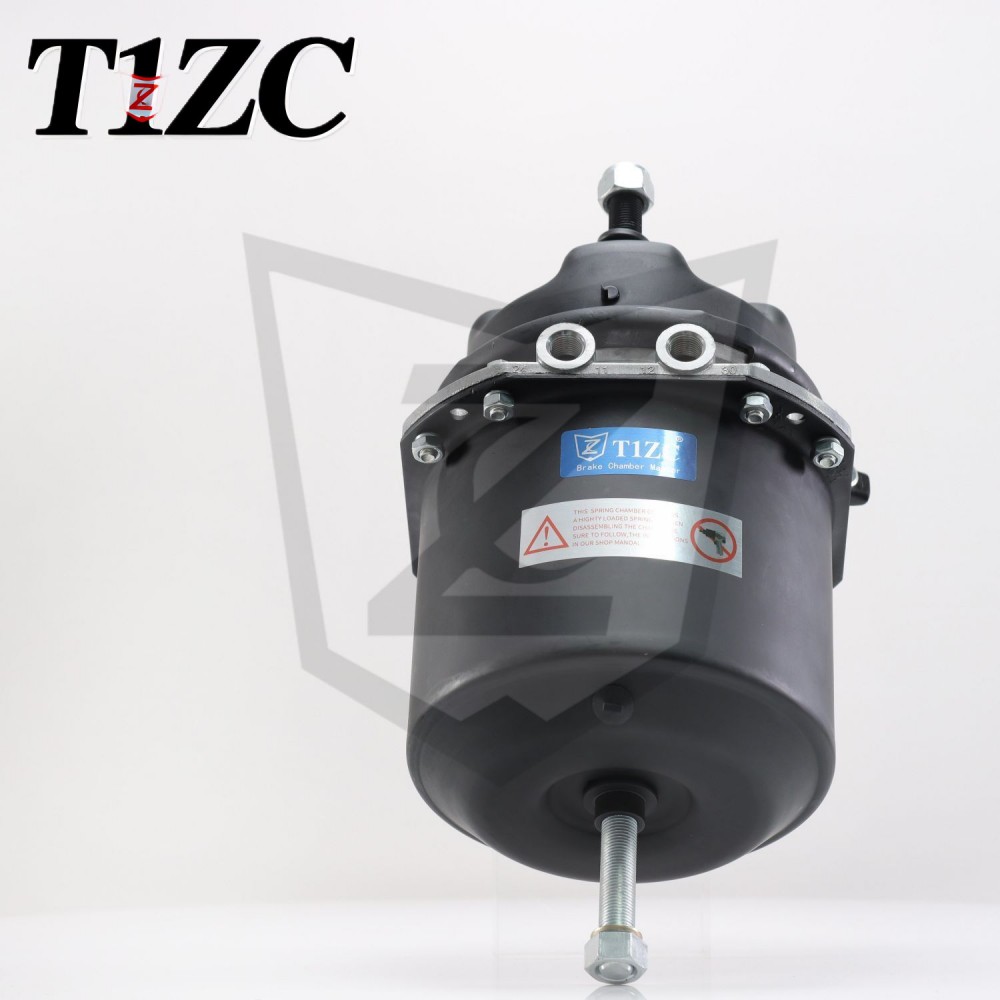
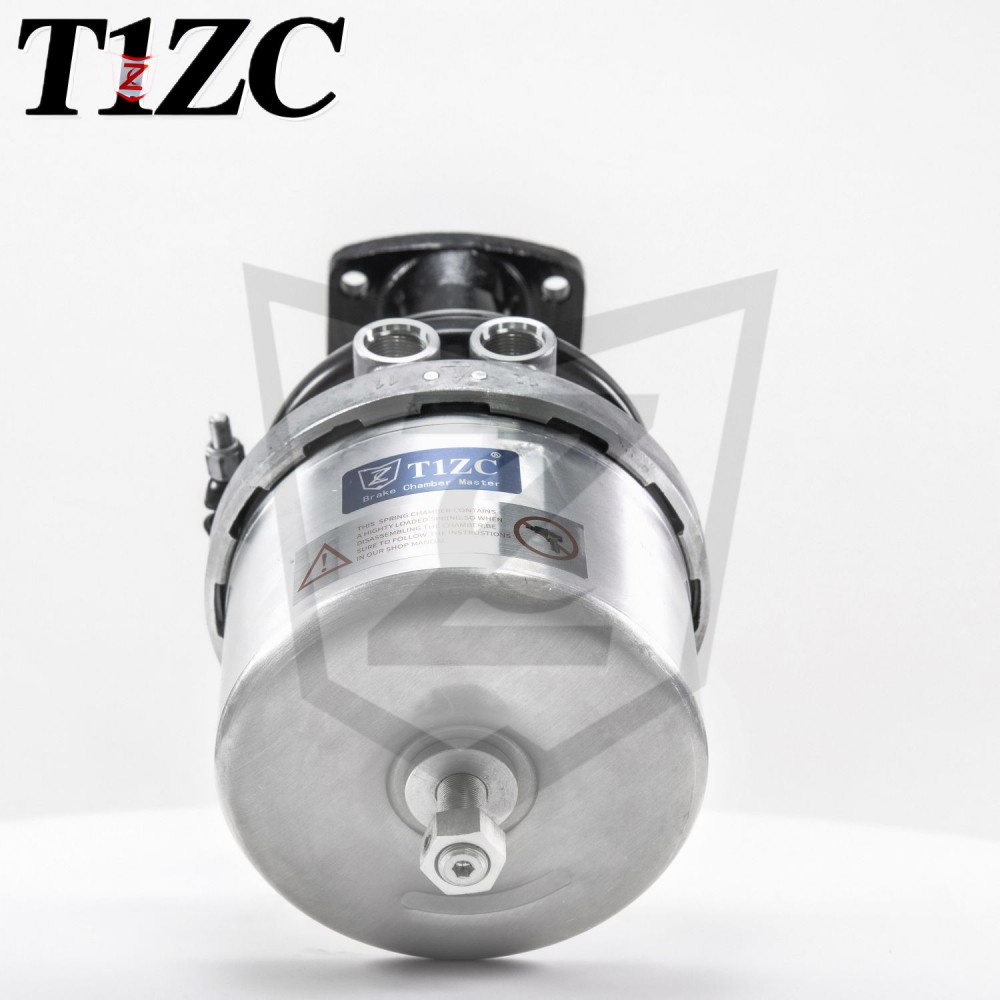
A brake chamber is a pneumatic actuator. Air pressure pushes a diaphragm and pushrod to apply the foundation brake, while a return spring moves the pushrod back when pressure drops. In a spring-brake chamber, a second stored-energy spring provides parking and emergency braking. “Brake chamber repair” therefore covers component replacement inside a serviceable chamber, correction of pushrod and clamp issues, and the decision to replace the unit when the housing, spring, or release mechanism is compromised.
Content
- What Brake Chamber Repair Can and Cannot Fix
- Begin With a Three-Point Diagnosis
- Match the Fault to a Repair or Replacement Decision
- Pushrod Stroke and Release Checks After Repair
- Seals, Moisture, and Corrosion: The Hidden Repair Cost
- S-Cam, Wedge, and Disc Chambers Need Different Repair Logic
- Parts and Workmanship: What to Specify
- FAQ
- Bottom Line
What Brake Chamber Repair Can and Cannot Fix
Most practical brake chamber repairs are limited to the diaphragm, seals, clamp band, pushrod, and mounting hardware; damaged housings, corroded springs, and bent release mechanisms usually call for replacement.
In daily fleet work, repair usually means one of these jobs:
- Replacing a cracked, swollen, or oil-contaminated diaphragm.
- Renewing seals and checking the clamp band for correct seating.
- Replacing a worn pushrod, clevis, or mounting fastener.
- Cleaning and inspecting the air inlet for contamination.
- Resetting the pushrod stroke only after the chamber passes a leak and release check.
What it should not mean is repeated pushrod readjustment to hide a weak return spring, a swollen diaphragm, or a leaking internal seal. Those “repairs” restore appearance, not reliable braking response. A chamber that cannot hold pressure or cannot release promptly is a road-safety risk, not a maintenance shortcut.
Begin With a Three-Point Diagnosis
A safe repair begins with three checks: visible stroke, pressure leakage, and release behavior; skipping any one of them can send a dangerous chamber back onto the road.
- Check applied stroke. Measure pushrod travel against the vehicle manufacturer’s limit. A stroke that is too long may indicate a worn slack adjuster, air loss, or a chamber that is nearing the end of its travel.
- Check leakage under pressure. Apply soap solution around the clamp band, ports, and diaphragm joint. Bubbles at the clamp usually point to diaphragm seating or a damaged sealing surface; bubbles at a fitting may be a simple connection fault.
- Check release and return. Release the parking brake and service brake, then confirm that the pushrod returns fully and promptly. A slow return points to a weak spring, contamination, or a bent pushrod.
For a structured pit check, follow routine air-leak inspection steps before removing any component. Diagnosis first prevents unnecessary diaphragm replacement and keeps the repair focused on the actual fault.
Match the Fault to a Repair or Replacement Decision
Use the failure pattern, not the parts price, to decide between repair and replacement; a low-cost diaphragm swap is poor value if the housing or spring is already failing.
| Condition found | Typical action | Why it matters |
|---|---|---|
| Diaphragm cracked or swollen; housing sound | Repair with correct diaphragm and clamp inspection | Restores pressure response at lower cost, but the air supply must be checked for oil or moisture. |
| Leak at clamp band or port | Reseat or replace clamp and seal; check threads | Small leaks can lengthen apply time and cause uneven braking. |
| Pushrod bent, corroded, or badly worn | Replace pushrod or chamber assembly | A binding pushrod can prevent full release and overheat the foundation brake. |
| Cracked housing or corroded spring | Replace the chamber | These are safety-critical parts; repair is not a reliable option. |
| Oil or water contamination inside the chamber | Repair only after correcting the air supply; otherwise replace | Contamination attacks new seals and diaphragms, causing repeat failure. |
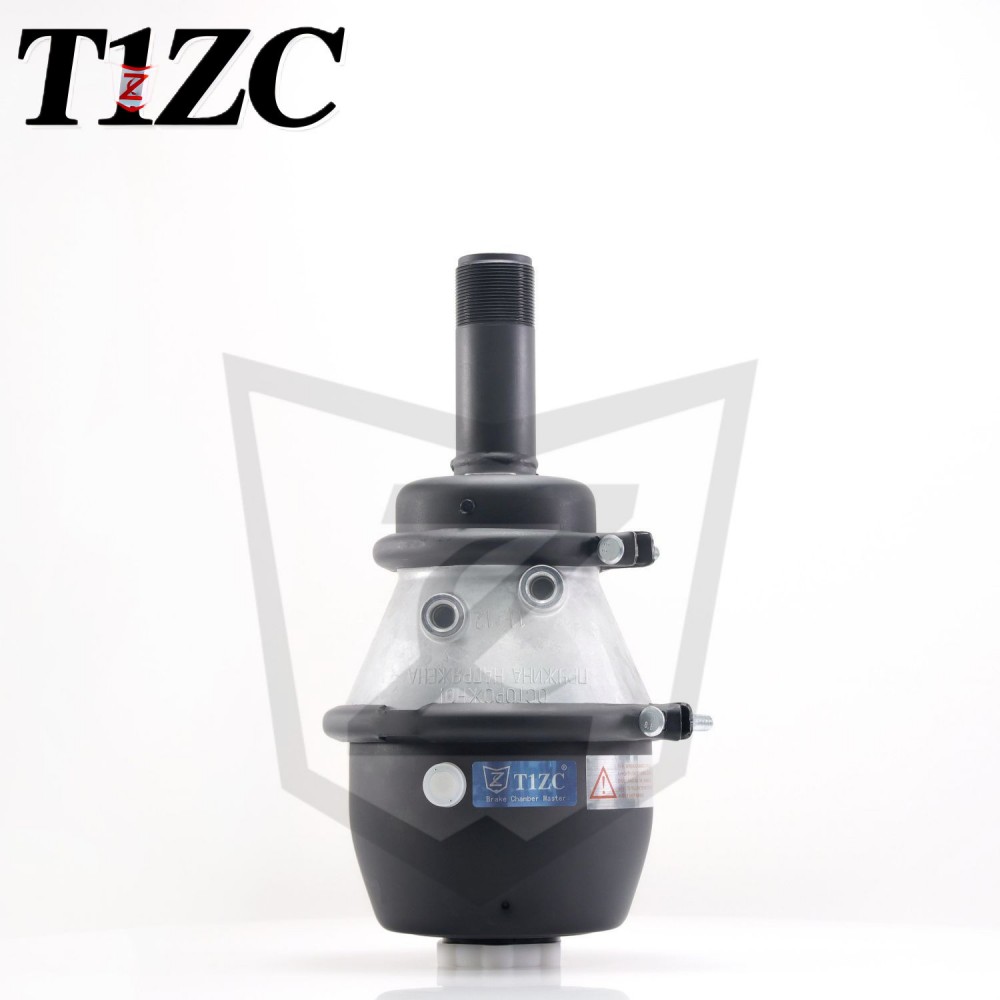
Disc chambers add another variable: release behavior. A cross-cover DP disc unit is one example where cover design, internal release path, and mounting orientation must match the original installation. The matching cross-cover DP disc chamber is listed here for reference.
 Cross Cover DP Disc Brake Chamber SeriesA pneumatic disc chamber offered in multiple model and OE variants; verify cover design, release path, and mounting orientation against the original installation.View Product →
Pushrod Stroke and Release Checks After Repair
After any repair, confirm that the pushrod returns fully and the applied stroke stays within the vehicle manufacturer’s specification; a clean diaphragm does not compensate for incorrect clamp seating or a binding pushrod.
Use the vehicle’s published stroke limit and measure at the same pressure and load condition specified in the service information. As a practical workshop sequence:
- Build system pressure, apply the brake, and measure stroke at the pushrod.
- Release the brake and watch for full, immediate return.
- Repeat the leak test at the clamp band and ports.
- Check that the pushrod clevis and slack adjuster move without binding.
- Confirm that the parking and emergency functions engage and release correctly.
If the stroke is correct but the chamber leaks, do not “adjust out” the symptom. A leak affects brake application time and air consumption, and it can worsen quickly under repeated cycling.
Seals, Moisture, and Corrosion: The Hidden Repair Cost
Moisture is the most common reason a simple repair becomes a repeat repair; water and oil in the air supply attack seals, swell diaphragms, and corrode springs long before the exterior looks worn.
Drain air tanks regularly, check the air dryer, and inspect for oily residue at the chamber inlet. If contamination is present, repair the chamber only after the source is corrected. Otherwise, the new diaphragm or seal will fail again, and the fleet pays twice for the same fault.
For wet, coastal, or high-cycle duty, an all-sealed disc chamber can reduce exposure of internal parts to road spray and airborne grit. The all-sealed brake chamber disc listing is a useful reference point when specifying that protection.
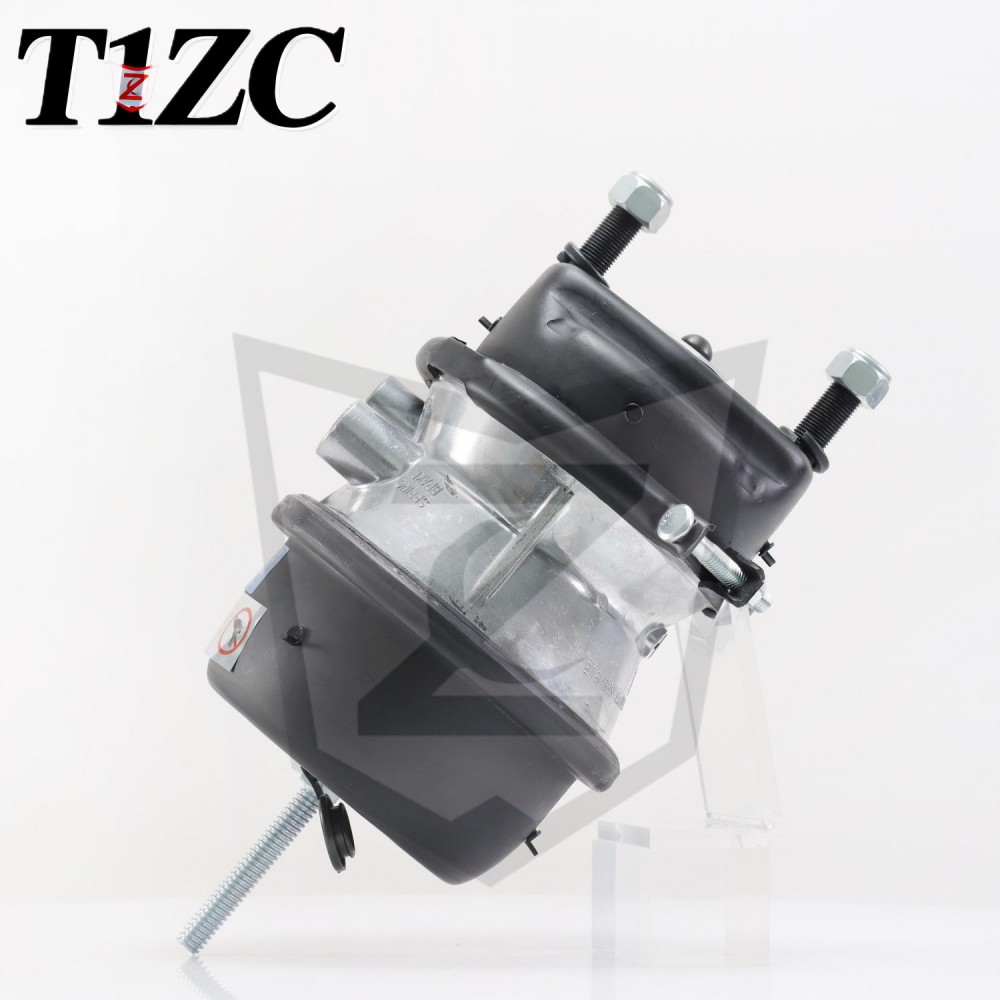 All Sealed Brake Chamber Disc RangeFully enclosed air disc chamber for heavy commercial vehicles, with sealed construction and multiple types; match foundation brake and release characteristics before specifying.View Product →
For fleets specifying disc systems, match the chamber to the foundation brake and release type before ordering from the disc brake chamber range. A chamber that fits the mounting holes but has the wrong release characteristics can create dragging brakes, heat, and premature lining wear.
S-Cam, Wedge, and Disc Chambers Need Different Repair Logic
Chamber type changes the repair path: S-cam and wedge units often fail around seals, diaphragms, and pushrod alignment, while disc chambers put more emphasis on release behavior and internal corrosion control.
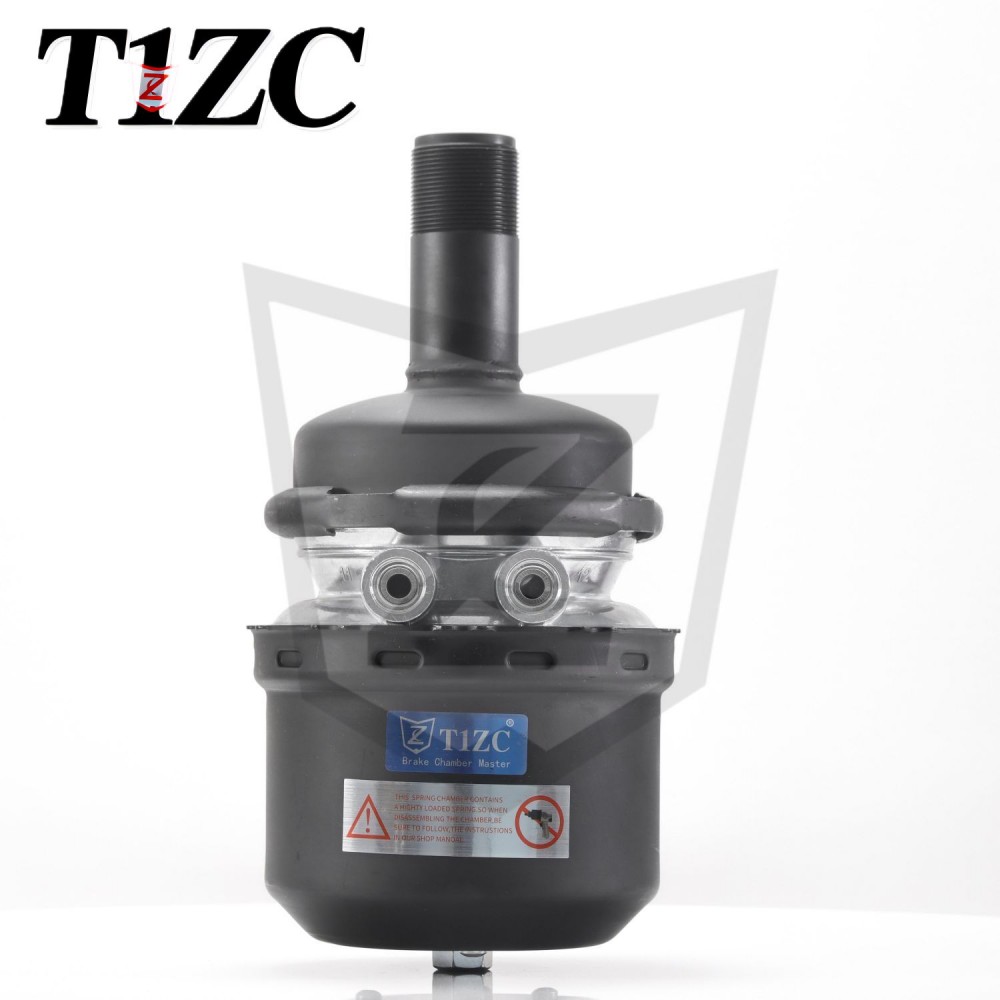
S-cam chambers generally reward close attention to pushrod alignment and return-spring condition. If the pushrod does not travel straight or the return is sluggish, replacing only the diaphragm may leave the underlying fault in place. For double-diaphragm S-cam applications, the regular S-cam DD chamber below is one matching option to compare against the failed unit.
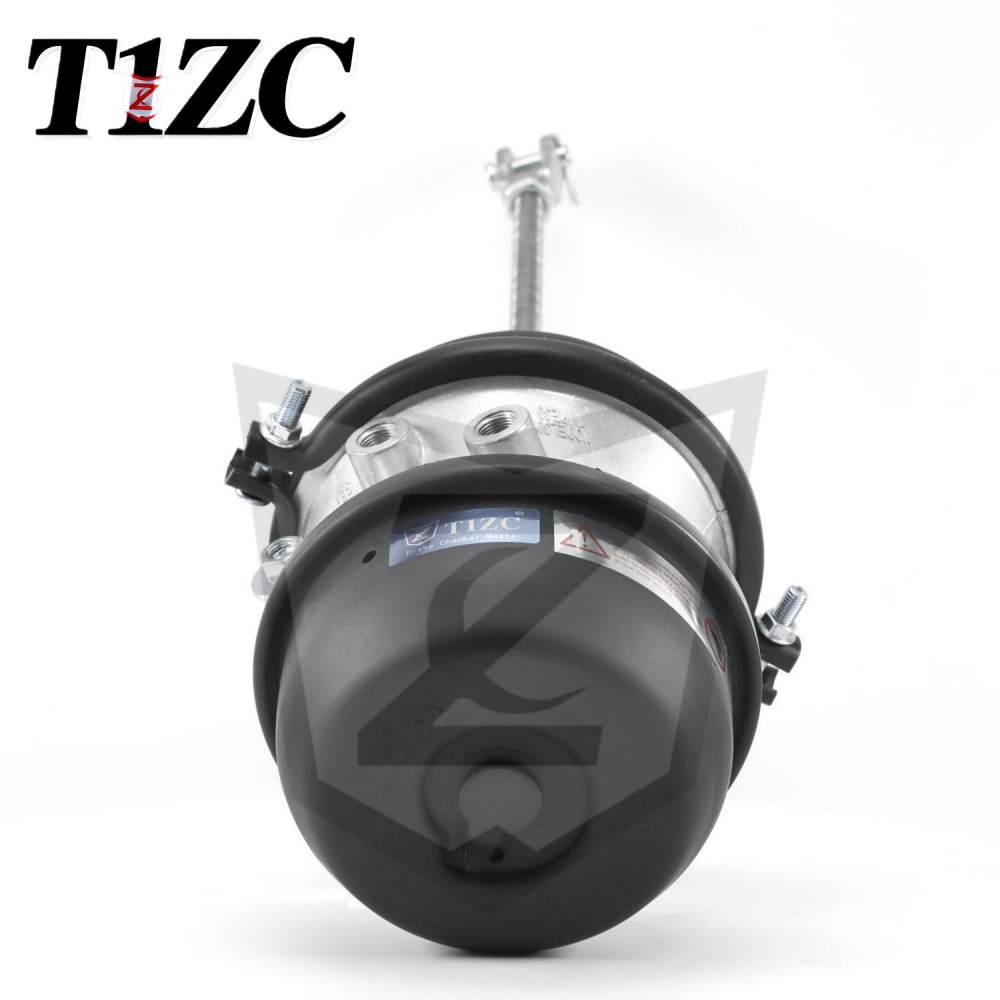 Regular S-cam DD Brake ChamberThe Regular S-Cam DD Brake Chamber is designed to meet the needs of efficient braking of commercial vehicles. It adopts the classic S-cam double diaphragm (DD) brake t...View Product →
- S-cam chambers: check stroke, pushrod alignment, clamp seating, and return spring action.
- Wedge chambers: inspect wedge movement and contamination; restricted movement can mimic an internal chamber fault.
- Disc chambers: verify release path, cover type, and corrosion protection, especially on sealed or quick-release designs.
Do not mix chamber types by appearance alone. Compare the mounting, port position, stroke rating, and release method against the failed part and the vehicle specification.
Parts and Workmanship: What to Specify
Specify the exact chamber family, stroke rating, port orientation, and release type before a repair is started; “same size” is not enough when clamp bands, pushrod threads, and mounting angles differ.
For purchasing and workshop teams, a useful repair standard includes:
- Correct identification: chamber type, service or spring-brake function, and mounting configuration.
- Diaphragm quality: material resistance to oil, moisture, and temperature cycling.
- Clamp and seal condition: no distortion, correct seating, and clean mating surfaces.
- Pushrod condition: straight, properly threaded, and free from corrosion at the clevis.
- Traceable supply: consistent model numbering and inspection records for fleet repeat orders.
Workmanship matters as much as the parts. A diaphragm installed with a twisted clamp band or a dirty sealing face can leak immediately. A pushrod adjusted without a release check can leave the brake dragging. The final test should include pressure retention, release speed, and a road or dynamometer check where applicable.
FAQ
Can a leaking brake chamber be repaired, or must it be replaced?
It can often be repaired when the leak is at the diaphragm, clamp band, or a serviceable seal and the housing is sound. Replace the chamber if the housing is cracked, the spring is corroded, the pushrod is bent, or contamination has caused structural damage.
How long should a brake chamber repair take?
A straightforward diaphragm or clamp repair often takes about 45 to 90 minutes, including diagnosis and a leak test. Corroded fasteners, seized clevis pins, or contaminated air lines can extend the job substantially.
Is it safe to adjust a pushrod instead of repairing the chamber?
No. Adjustment is part of correct setup, not a cure for leakage, a weak return spring, or a damaged diaphragm. A chamber that will not hold pressure or release properly should be repaired or replaced before the vehicle returns to service.
What causes repeat brake chamber failures?
Repeat failures usually come from contaminated air, moisture, incorrect clamp installation, pushrod misalignment, or using a chamber with the wrong stroke or release characteristics. Fix the cause, not just the failed diaphragm.
Bottom Line
Brake chamber repair should restore correct apply and release behavior, not merely stop a hiss. Diagnose stroke, leakage, release, and contamination; repair only when the housing, spring, and release mechanism are sound; replace when safety-critical parts are compromised.
For fleets, the cheapest repair is the one that stays correct: match the chamber to the axle and foundation brake, use sealed designs in wet duty, and verify stroke and leak-tightness before the vehicle leaves the bay.