
 EN
EN  English
 Português






The direct answer to how to disable brake chamber is this: you must mechanically cage the spring brake section by inserting a caging bolt into the chamber's end cap and tightening it to compress the heavy power spring. This procedure releases the spring-applied, air-released parking brake so the wheel can roll freely. Disabling a brake chamber is not a simple adjustment; it is a deliberate, tool-dependent mechanical operation that overrides the fail-safe design of an air brake system.
Content
- What a Brake Chamber Actually Is
- Why Anyone Would Need to Disable a Brake Chamber
- Essential Tools and Pre-Procedure Safety Checks
- Step-by-Step: How to Disable Brake Chamber the Correct Way
- Comparing Different Types of Brake Chambers and Their Disabling Nuances
- Critical Risks When You Disable a Brake Chamber
- Regulatory and Compliance Considerations
- How to Disable Brake Chamber: Caged Chamber Inspection Checklist
- Restoring the Brake Chamber to Operational Status
- Frequently Asked Questions
- Real-World Data on Brake Chamber Failures
- Safety Equipment Investment for Fleets
- Summary of Best Practices
What a Brake Chamber Actually Is
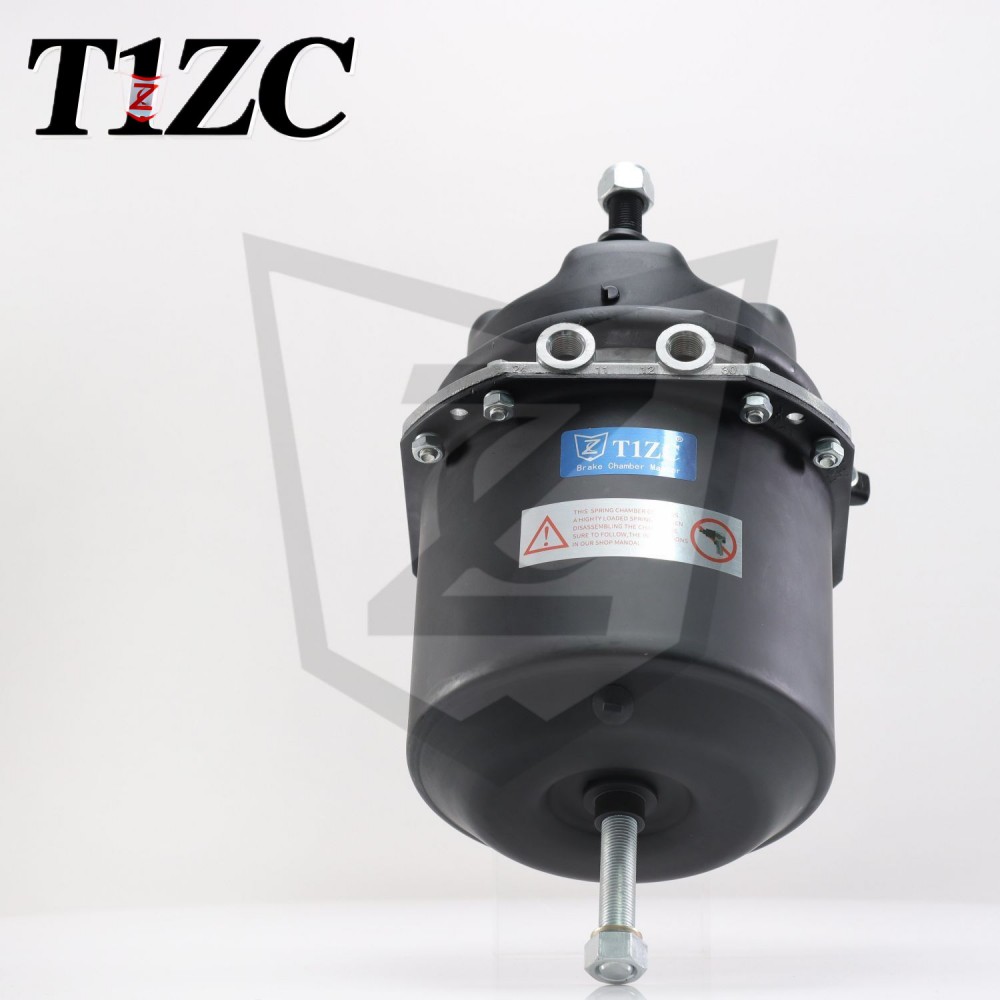
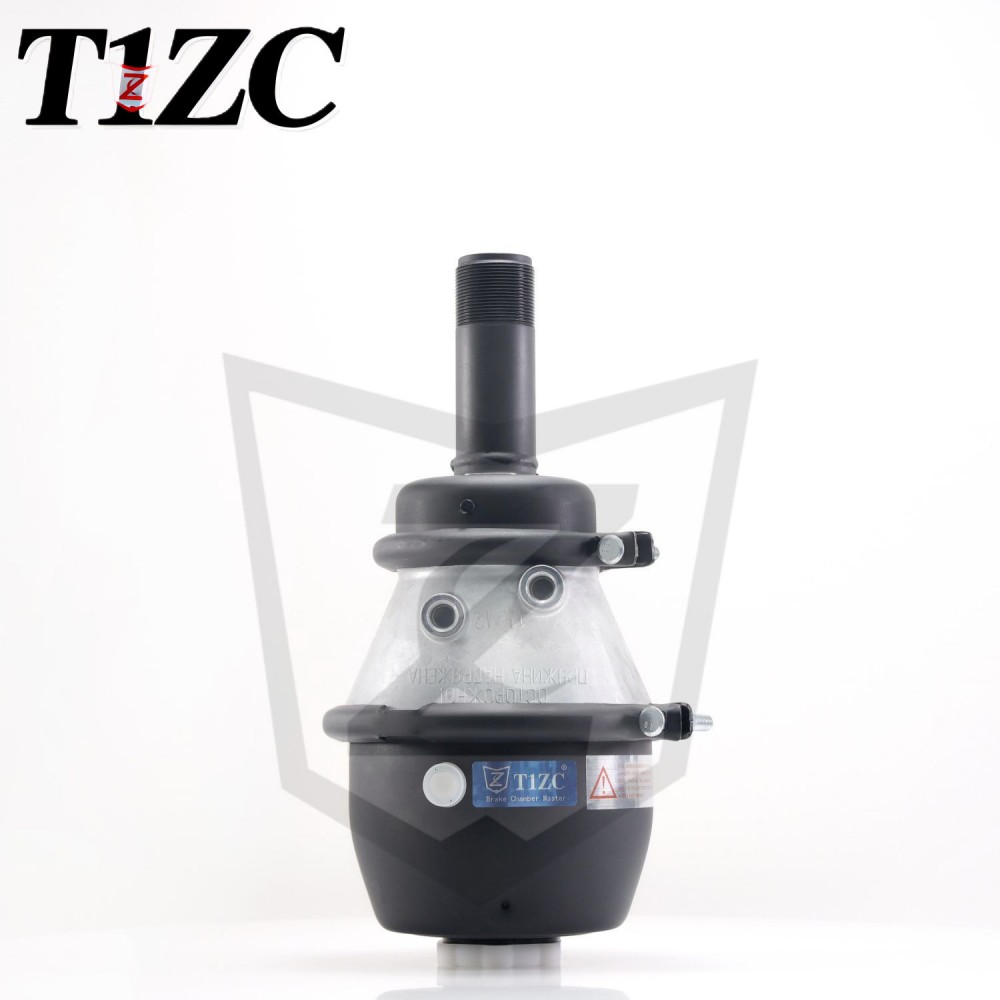
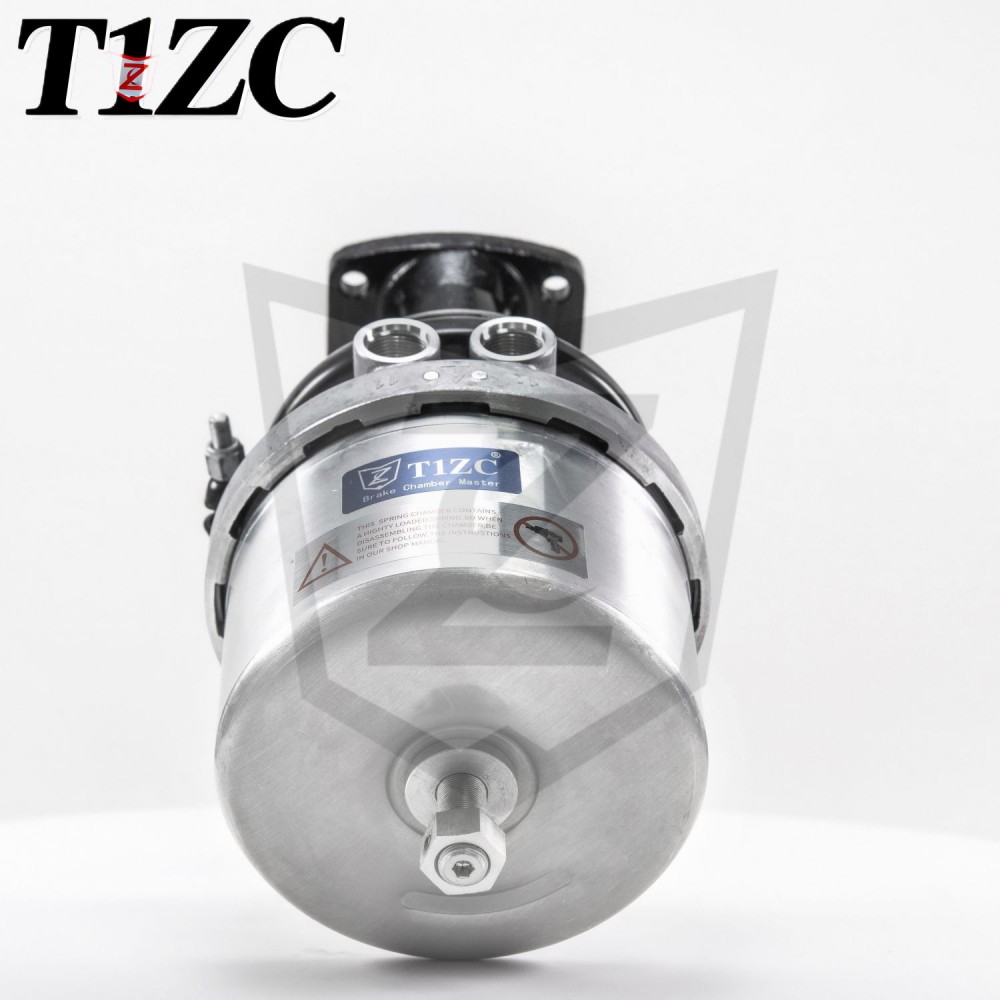
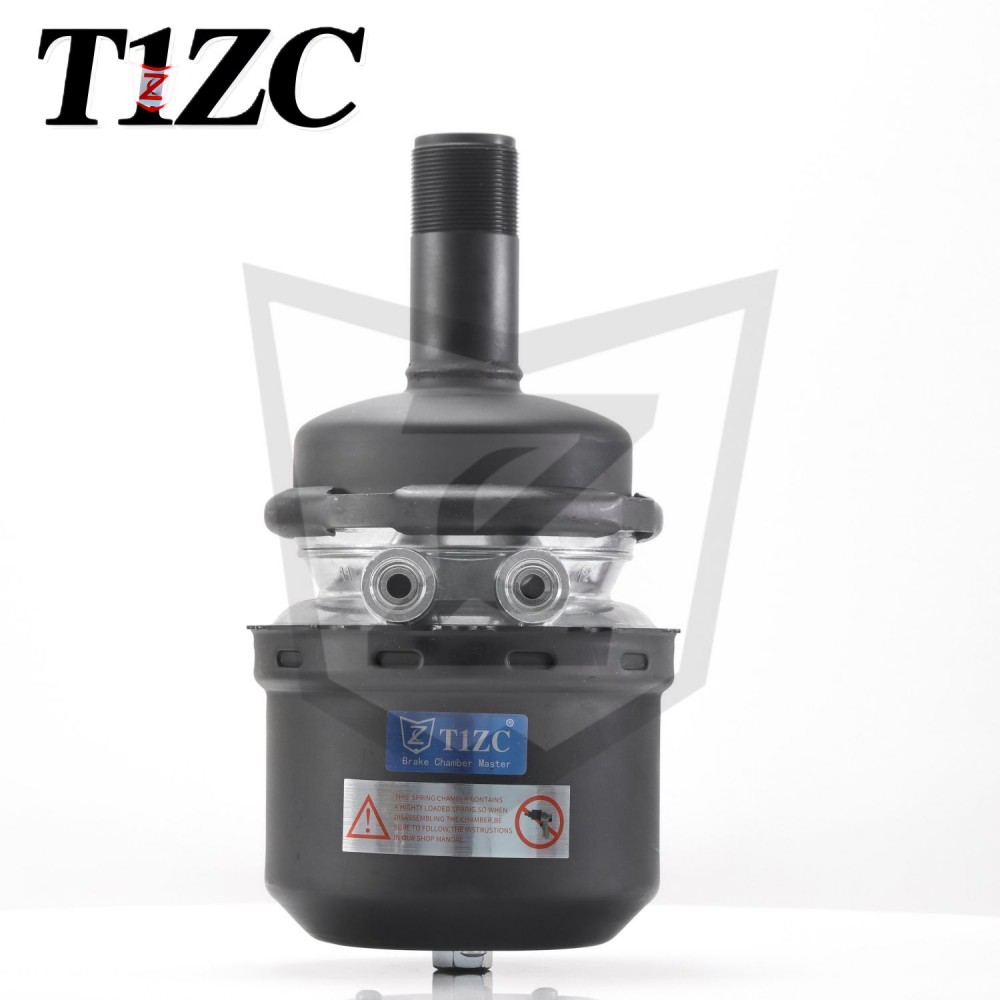
A brake chamber is a metal canister mounted on each wheel axle of a heavy-duty truck, bus, or trailer. It converts compressed air energy into mechanical force. Inside a standard Type 30 chamber, there are two separate sections. The service brake section uses a diaphragm and pushrod to apply the foundation brakes during normal driving. The spring brake section contains a compressed coil spring with a force that can exceed 1,800 pounds of tension. When the driver pulls the parking brake knob, air is exhausted from the spring brake side, and that enormous spring slams the pushrod outward, locking the wheels. The Federal Motor Carrier Safety Administration (FMCSA) mandates that every commercial vehicle with air brakes must have a functioning spring brake system that automatically applies if air pressure drops below approximately 20 to 30 psi. Understanding this dual-chamber architecture is the foundation for learning how to disable brake chamber safely.
Service Brake Side
Operated by the foot pedal during driving. Air pressure enters, moves a diaphragm, and extends the pushrod. This side has no heavy spring and returns to rest when air is released.
Spring Brake Side
Operated by the parking brake knob. Air pressure holds the power spring compressed. When air is removed, the spring extends, applying brakes. This is the side you must disable.
Why Anyone Would Need to Disable a Brake Chamber
The primary reason is a roadside emergency where a trailer must be towed but no air supply is available. Without air pressure, the spring brakes are automatically locked. A technician or tow operator must release them manually to move the vehicle. Other scenarios include replacing a failed chamber, performing axle-end maintenance, or diagnosing brake drag. According to the American Trucking Associations' Technology & Maintenance Council, brake-related violations rank among the top three out-of-service defects during roadside inspections, making accurate knowledge of how to disable brake chamber procedures essential for maintenance crews.
| Scenario | Typical Pressure Condition | Required Action |
|---|---|---|
| Emergency towing | 0 psi in trailer supply line | Cage all spring brake chambers |
| Chamber replacement | System drained to 0 psi | Cage the chamber being removed |
| Brake drag diagnosis | Normal operating pressure | Cage suspected chamber, test roll |
| Yard spotting without tractor | No air source available | Cage chambers to move trailer |
Essential Tools and Pre-Procedure Safety Checks
Before you physically learn how to disable brake chamber, you must assemble the correct tools and perform safety checks. The most critical tool is the caging bolt. Most standard Type 30 chambers use a caging bolt with a 3/4-inch 10-thread-per-inch specification, but length varies. A typical caging bolt is around 5 to 6 inches long. Never use a standard hardware-store bolt; only use the manufacturer-specified caging bolt designed for that chamber model. A worn or incorrect bolt can strip threads under load, causing catastrophic spring release.
- Caging bolt and nut: T-handle style is safest, as it allows manual turning without a ratchet slipping.
- Wheel chocks: At least two rated for the vehicle's gross weight. Place them on both sides of an axle that will remain braked.
- Personal protective equipment: Safety glasses and heavy-duty gloves. A spring explosion can send metal fragments at high velocity.
- Proper lighting: A headlamp keeps both hands free.
- Vehicle documentation: Check the chamber manufacturer label for the exact caging bolt specification.
Step-by-Step: How to Disable Brake Chamber the Correct Way
The procedure is standardized across most S-cam drum brake systems, but exact steps depend on chamber orientation and vehicle configuration. Never stand directly in front of the chamber end cap during any step.
Step 1: Verify Zero Air Pressure
Drain all air tanks completely. Use the dash gauges to confirm 0 psi on both primary and secondary needles. Open the tank drain valves and listen for escaping air until silence. Even a residual 10 psi can hold the spring partially compressed, making the chamber dangerously unpredictable.
Step 2: Locate the Caging Port
On the spring brake section's end cap (the rear half of the chamber), find a round port, often covered by a rubber dust plug or a removable metal cap. Behind this port is a threaded hole that receives the caging bolt and a receptacle in the spring pressure plate.
Step 3: Insert and Engage the Caging Bolt
Remove the dust plug. Insert the T-handle caging bolt straight into the port. You must rotate the bolt while applying firm inward pressure until you feel the bolt's head seat into the internal pressure plate slot. This step requires patience; if the bolt is not fully seated in the slot, tightening it will strip the aluminum threads of the chamber housing without compressing the spring.
Step 4: Tighten the Caging Nut
Once the bolt head is seated, thread the nut down against the chamber body. Tighten the nut firmly with a wrench. As you tighten, the bolt draws the internal spring plate toward the end cap, compressing the power spring and retracting the pushrod. The FMCSA stipulates that a properly caged spring brake must not be able to apply any braking force. You will often hear the brake shoes retracting from the drum.
Step 5: Confirm Release
Physically check that the pushrod has fully retracted. For a Type 30 standard stroke chamber, the pushrod exposed length should return to approximately 2.5 inches or less. Attempt to rotate the wheel by hand (with the vehicle safely supported and chocked on other axles). Do not assume it is released simply because the nut is tight.
Comparing Different Types of Brake Chambers and Their Disabling Nuances
Not all brake chambers share the same disabling method. Disabling a piston-type chamber, commonly found on some transit buses and European heavy vehicles, is fundamentally different and often requires specialized service tools rather than a standard caging bolt.
| Chamber Type | Spring Force (approx.) | Caging Method | Typical Application |
|---|---|---|---|
| Standard Type 30/30 | 1,800 lbs | External caging bolt through end cap | Most tractor drive axles, trailers |
| Type 24/24 Long Stroke | 1,500 lbs | External caging bolt, longer bolt required | Steer axles, some trailers |
| Piston-Type (RotoChamber) | 1,200 - 1,600 lbs | Internal lock or specialized compressor tool | Transit buses, older coaches |
| DD3 Safety Actuator | Dual diaphragm, no single power spring | Mechanical release bolt on actuator body | Older highway coaches |
Key Distinction: Stroke Length Matters
A long-stroke chamber requires a longer caging bolt. Using a standard bolt in a long-stroke chamber will bottom out the threads before the spring is fully compressed, leaving residual brake drag and creating a false sense of security. Always match the bolt to the chamber stroke specification printed on the manufacturer label.
Critical Risks When You Disable a Brake Chamber
The power spring inside a Type 30 chamber stores approximately 1,800 pounds of force at full compression. If the chamber clamps are removed without caging, that force instantly separates the two halves of the chamber, launching the spring side like a projectile. The Occupational Safety and Health Administration (OSHA) has documented multiple fatalities from improper chamber disassembly. The act of learning how to disable brake chamber correctly is fundamentally an act of risk management.
Sudden Spring Release
If the caging bolt threads strip inside the aluminum housing, the bolt can eject violently. Always inspect threads on the bolt and housing before starting.
False Security
A caged chamber has no parking brake function. If the vehicle is unhooked from an air supply and the caging bolt is removed on a slope, it will roll unimpeded. Caged chambers must be marked clearly.
Regulatory and Compliance Considerations
Under 49 CFR 393.43, no commercial motor vehicle shall be operated with a disabled or missing spring brake mechanism except in an emergency to move the vehicle to a repair facility. The Commercial Vehicle Safety Alliance (CVSA) considers a missing or improperly caged brake chamber an automatic out-of-service violation during inspections. More than 8% of all vehicles placed out of service in North America during the 2023 International Roadcheck event had brake system violations, many involving chamber integrity. When you disable a brake chamber for towing, you are legally required to restore full function before the vehicle returns to service.
How to Disable Brake Chamber: Caged Chamber Inspection Checklist
After completing the caging procedure, run through this inspection checklist. Every item must be confirmed before the wheel is considered safe to turn.
- Caging bolt is fully seated: The nut is tightened until firm resistance stops it, and the bolt head is confirmed engaged in the pressure plate slot.
- Pushrod retracts completely: Measure exposed pushrod length with a ruler; compare to manufacturer specification.
- Brake shoes are free: A pry bar gently applied to the slack adjuster should show the shoes moving away from the drum, not binding.
- No air leaks: The caging port plug is reinstalled or the nut and bolt assembly is secure without hissing.
- Warning tag attached: A visible, weather-resistant tag stating "SPRING BRAKE CAGED - DO NOT OPERATE" is affixed near the chamber.
Restoring the Brake Chamber to Operational Status
To restore function, connect a functioning air supply and build pressure to at least 100 psi. Air pressure will push the spring back into its compressed, ready position. Only after the system is fully pressurized should you remove the caging bolt. Attempting to remove the bolt without air pressure means the spring is still under tension against the bolt; unscrewing it under load can cause thread damage. After removal, cycle the parking brake knob three times and measure pushrod stroke on each application to confirm proper operation. The pushrod stroke on a standard Type 30 chamber must not exceed 2.5 inches when the service brake is applied at 80 to 90 psi.
Frequently Asked Questions
Can you disable a brake chamber without a caging bolt?
No. There is no safe method to disable a brake chamber without a caging bolt. Using pry bars, wedges, or attempting to disassemble the clamp ring under spring load has caused severe injuries and fatalities. If a caging bolt is missing, contact a mobile heavy-duty mechanic or tow operator who carries a universal caging bolt kit.
How long can a brake chamber remain caged?
A brake chamber should remain caged only for the duration of the necessary repair or towing operation. The FMCSA's emergency provision permits a vehicle to be moved directly to the nearest repair facility. Leaving a chamber caged for extended storage or operation violates federal safety regulations and invalidates liability insurance coverage.
Does disabling the brake chamber affect the service brake?
On a standard dual-chamber unit, caging the spring brake side does not affect the service brake diaphragm side. The service brakes will still function normally when air is applied through the foot valve. However, without a functioning spring brake, the vehicle has no automatic emergency braking capability.
What is the torque specification for a caging bolt nut?
Most manufacturers specify 40 to 60 foot-pounds of torque on the caging nut. Over-tightening can strip the aluminum housing threads. The goal is to compress the spring fully, not to achieve a specific torque value. Stop tightening when the pushrod is fully retracted and firm resistance is met.
Can you drive a vehicle with a caged brake chamber?
Driving with a caged chamber is illegal on public roads except for a one-time emergency movement to a repair facility. The vehicle lacks required parking and emergency brake capability on that axle, placing it in violation of 49 CFR 393.40.
Real-World Data on Brake Chamber Failures
According to the National Highway Traffic Safety Administration's Large Truck Crash Causation Study, brake-related problems were coded in approximately 29% of heavy truck crashes where a vehicle-related factor was identified. Within that category, chamber component failures, including spring fractures and improper caging, represented a significant subset. The average cost of a new Type 30/30 brake chamber ranges from $85 to $220 depending on stroke length and brand, a relatively small cost compared to the potential liability from improper disabling. Bureau of Transportation Statistics data indicates that roadside brake violations cost fleets an average of $860 per incident in fines, downtime, and inspection fees, not including reputational damage to the carrier's CSA scores.
| Brake System Violation Category | 2022 Roadside OOS Rate | Average Repair Cost |
|---|---|---|
| Missing or defective chamber | 3.2% | $390 |
| Improperly caged spring brake | 2.8% | $280 |
| Pushrod stroke out of adjustment | 7.1% | $190 |
| Air hose chafing or leaks | 5.6% | $140 |
Safety Equipment Investment for Fleets
For maintenance shops regularly performing the procedure to disable brake chambers, investing in dedicated caging bolt kits with T-handles across all common chamber sizes is essential. A complete fleet kit covering Type 20, 24, 30, and 36 chambers with long-stroke variants costs approximately $175 to $350. Compare this to the average cost of a single workplace injury claim involving a brake chamber incident, which the National Safety Council estimates at $42,000 in direct medical and indemnity costs. The return on investment for proper tooling and training is immediate and substantial.
Summary of Best Practices
The core of understanding how to disable brake chamber lies in respecting the stored mechanical energy inside the spring canister. Always drain air completely. Always use the correct caging bolt. Always verify pushrod retraction by physical measurement. Never stand in the line of fire of the end cap. Never operate a vehicle with a caged chamber beyond the minimum necessary emergency movement. Mark every caged chamber with a visible warning tag. These practices align with both OSHA workplace safety standards and FMCSA vehicle maintenance regulations, protecting technicians, drivers, and the motoring public.