
 EN
EN  English
 Português




A spring brake chamber with a loaded power spring is not safe to remove, transport, or open. Caging the brake chamber — inserting the caging bolt into the center of the chamber and turning it until the internal spring is fully compressed — is the standard, safe way to take the spring out of the brake system. In short: insert the caging bolt, compress the spring, and lock it before doing any further brake work. This guide explains exactly when you need to cage a brake chamber, what tools you need, and how to do it step by step.
Content
- What Does Caging a Brake Chamber Mean?
- When Do You Need to Cage a Brake Chamber?
- Tools and Preparation
- How to Cage a Brake Chamber Step by Step
- Safety Warnings and the Difference Between Caged and Normal Chambers
- Common Mistakes and How to Avoid Them
- What to Do After Caging: Removing and Replacing the Chamber
- Frequently Asked Questions
What Does Caging a Brake Chamber Mean?
Caging means mechanically compressing the large power spring inside a spring brake chamber so that it stops pushing the pushrod and no longer applies the brake. It is a maintenance and recovery operation, not a driving strategy.
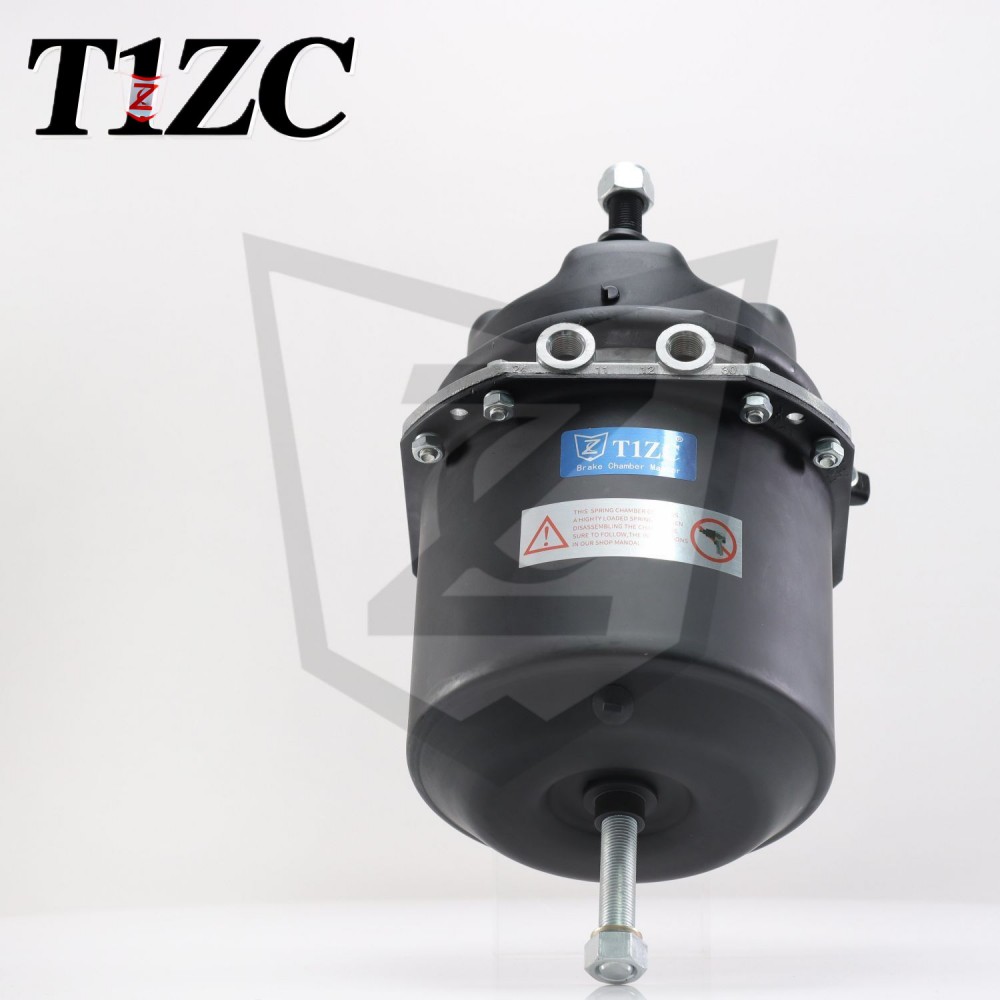
A spring brake chamber combines a service brake diaphragm with a parking and emergency spring. During normal driving, air pressure holds the spring compressed. If the air pressure drops below roughly 60 psi (414 kPa) — because of an air leak, compressor failure, or engine shutdown — the spring extends and applies the parking brake. Once that air pressure is gone, the only safe way to release the spring force is with the caging bolt.
Why Caging Matters
Without caging, removing the clamp bolts can release the power spring violently and cause serious injury or death. Caging puts the spring into a compressed, locked state, turning a spring brake chamber into a service-only chamber that can be disassembled, replaced, or used to roll a disabled vehicle.
When Do You Need to Cage a Brake Chamber?
Cage the brake chamber any time the spring is loaded and air pressure cannot hold it back. The most common situations are:
- Replacing a failed chamber: worn diaphragm, leaking housing, broken spring, or seized pushrod all require caging before removal.
- Air system failure: compressor, reservoir, or air line failure leaves no pressure to release the spring.
- Moving a disabled vehicle: caging the chambers lets the wheels roll freely without air pressure during towing or short repositioning.
- Releasing a stuck parking brake: when the spring valve will not release, caging is the mechanical fallback.
If the chamber itself is mechanically stuck rather than simply held by spring force, follow the guide on releasing a stuck brake chamber manually before attempting removal.
Tools and Preparation
You only need a few basic tools, but they must match the chamber type.
- A caging bolt that matches your chamber's caging bolt design
- A wrench or socket, normally 3/4-inch or 7/16-inch for the bolt head
- A flat-head screwdriver or needle-nose pliers to remove the rubber weather seal
- Wheel chocks and safety glasses
Before you begin: park on level ground, chock the wheels, and drain the air system until the pressure gauge reads 0 psi. If the vehicle carries a spare caging bolt in the cab or toolbox, use the one that matches the chamber manufacturer's specification.
How to Cage a Brake Chamber Step by Step
Follow the steps in order. If the caging bolt does not turn smoothly, stop and re-check the air pressure and the bolt alignment.
- Chock the wheels on both sides and confirm the vehicle cannot roll.
- Drain all air reservoirs so the gauge shows 0 psi. Do not rely on the gauge alone — open the drain valves until no air escapes.
- Locate the spring brake chamber: the larger canister on the rear axle or trailer axle. It usually has a rubber weather plug in the center of the non-pressure side.
- Remove the rubber weather seal with pliers or a small screwdriver. Keep it in a clean place; you must reinstall it later.
- Insert the caging bolt into the center opening. Align the locking tabs with the slots, push the bolt in, and turn it a quarter turn to lock the tabs.
- Tighten the caging bolt clockwise with the wrench. If the chamber has a factory-installed caging bolt (a hex head already sitting in the chamber center), turn it counterclockwise instead. The correct direction is usually marked on the housing.
- Keep turning until the spring is fully compressed and the bolt reaches a solid stop. The pushrod should be fully retracted.
- Verify the spring is fully caged by checking that the pushrod is retracted and the wheel hub rotates freely by hand.
How Tight Is Too Tight?
The caging bolt has a design limit. You should feel the spring compress smoothly and then stop. If you meet heavy resistance early, stop immediately: the air may still be trapped in the chamber, or the bolt may not be seated correctly. Forcing it can strip the threads and release the spring unpredictably. Our guide on checking brake chamber air leaks can help you verify the system before you continue.
Safety Warnings and the Difference Between Caged and Normal Chambers
Caging is a controlled procedure, but only if you respect the spring's stored energy. These warnings are non-negotiable:
- Never remove the clamp bolts before the caging bolt has fully compressed the spring.
- Never stand directly in front of the chamber with your body in line with the spring.
- Never use impact tools on the caging bolt; turn it smoothly by hand with a wrench.
- Never run the vehicle with a caged chamber — braking force on that wheel is zero, and it is illegal on public roads.
- Reinstall the weather seal after the repair to keep water, mud, and debris out of the spring cavity.
The table below compares the brake state, wheel freedom, and removal safety of a chamber before and after caging.
| Condition | Brake State | Wheel Freedom | Safe to Remove? |
|---|---|---|---|
| Normal, air pressure applied | Brake released, spring held by air | Free to rotate | Not safe — spring can extend if air is lost |
| Normal, no air pressure | Parking brake applied, spring extended | Locked | Not safe — spring is fully loaded |
| Caged with caging bolt | Brake released, spring compressed mechanically | Free to rotate | Safe, once the bolt is fully seated |
Common Mistakes and How to Avoid Them
Most caging mistakes are avoidable if you slow down and check the basics:
- Wrong caging bolt: a bolt that is too long or too short will not lock into place or cannot reach the pressure plate.
- Wrong turning direction: on most chambers, an inserted bolt turns clockwise; a factory-installed bolt turns counterclockwise. Check the marking.
- Incomplete air drain: residual pressure makes turning harder and can cause the spring to extend suddenly while you work.
- Losing the weather seal: once damaged, moisture enters the spring housing and accelerates corrosion.
- Removing before full compression: always confirm the pushrod is fully retracted before unbolting the chamber.
What to Do After Caging: Removing and Replacing the Chamber
Once caged, the chamber can be removed like a regular service chamber: disconnect the air inlet, unscrew the mounting nuts, and pull the chamber off the bracket. Before mounting the new unit, clean the mounting surface and verify that the new chamber matches the original stroke rating and mounting form.
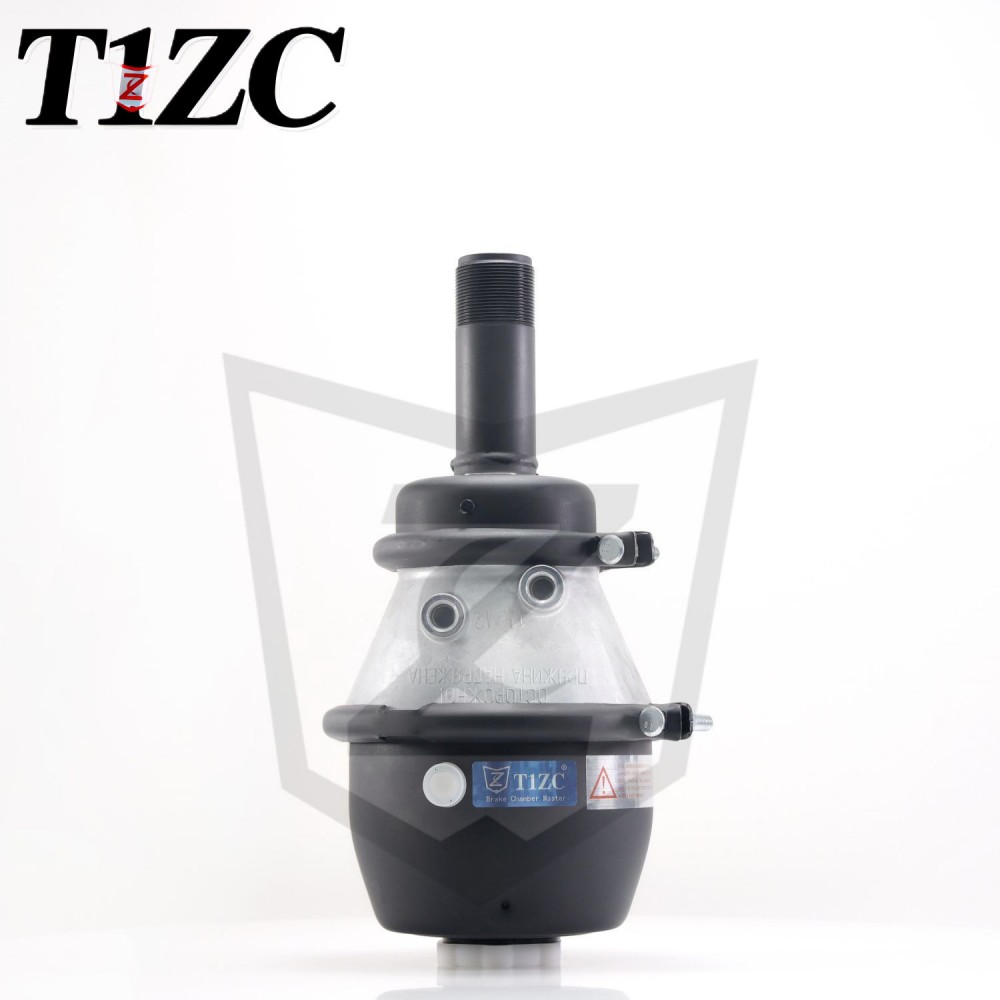
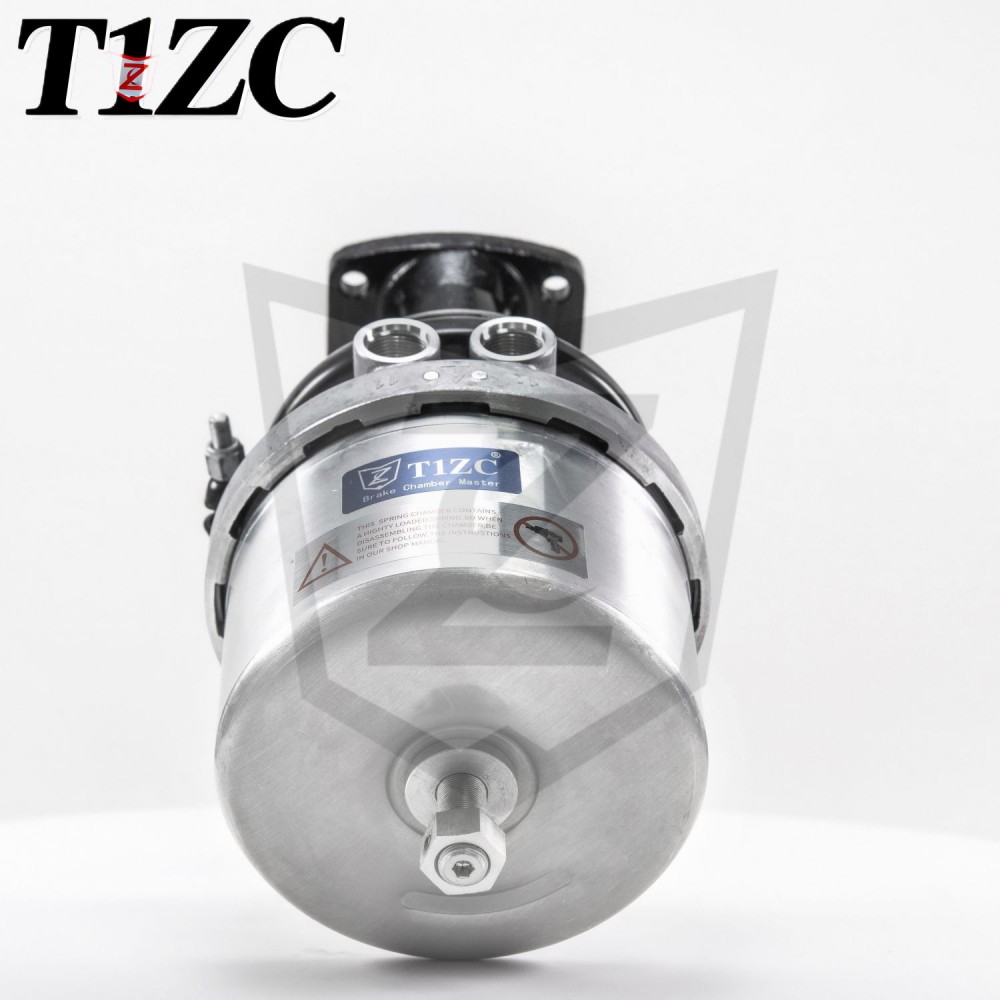
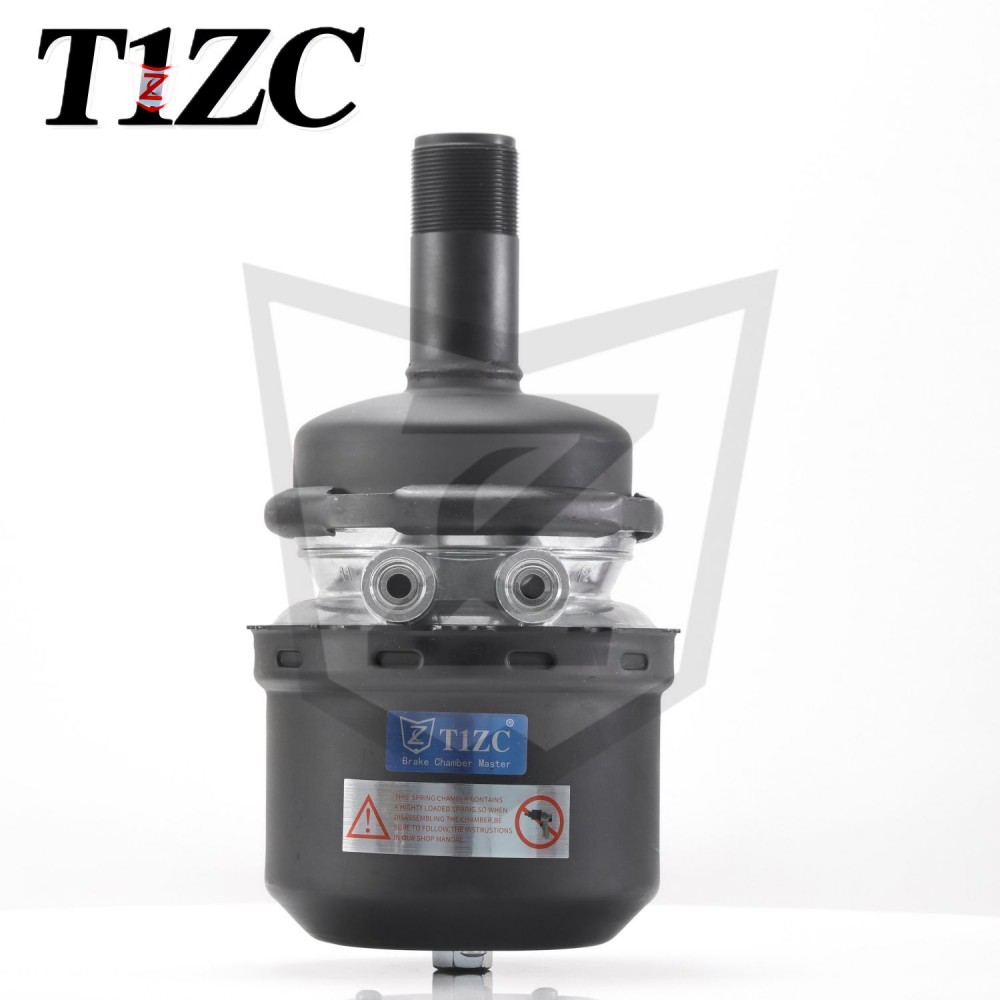
For trucks and trailers running standard S-cam axles, a regular DD S-cam brake chamber is the typical replacement, combining the service diaphragm and parking spring in one sealed unit. In high-vibration or heavy-duty service, a welded S-cam brake chamber offers a stronger housing with fewer leak paths. New chambers are normally shipped with the spring already caged; leave the shipping bolt in place until the chamber is fully mounted and the air lines are connected, then release it. After installation, adjust the pushrod stroke according to the service manual and test both parking and service brakes before returning the vehicle to work. For more detail, see our technician's guide to adjusting brake chamber pushrod stroke.
 Wholesale Weld S-cam Brake Chamber Manufacturers, Factory - ZHUJI TEYI IMPORT&EXZHUJI TEYI IMPORT&EXPORT CO.,LTD is China wholesale Weld S-cam Brake Chamber manufacturers and OEM factory,The Weld S-Cam Brake Chamber f...View Product →
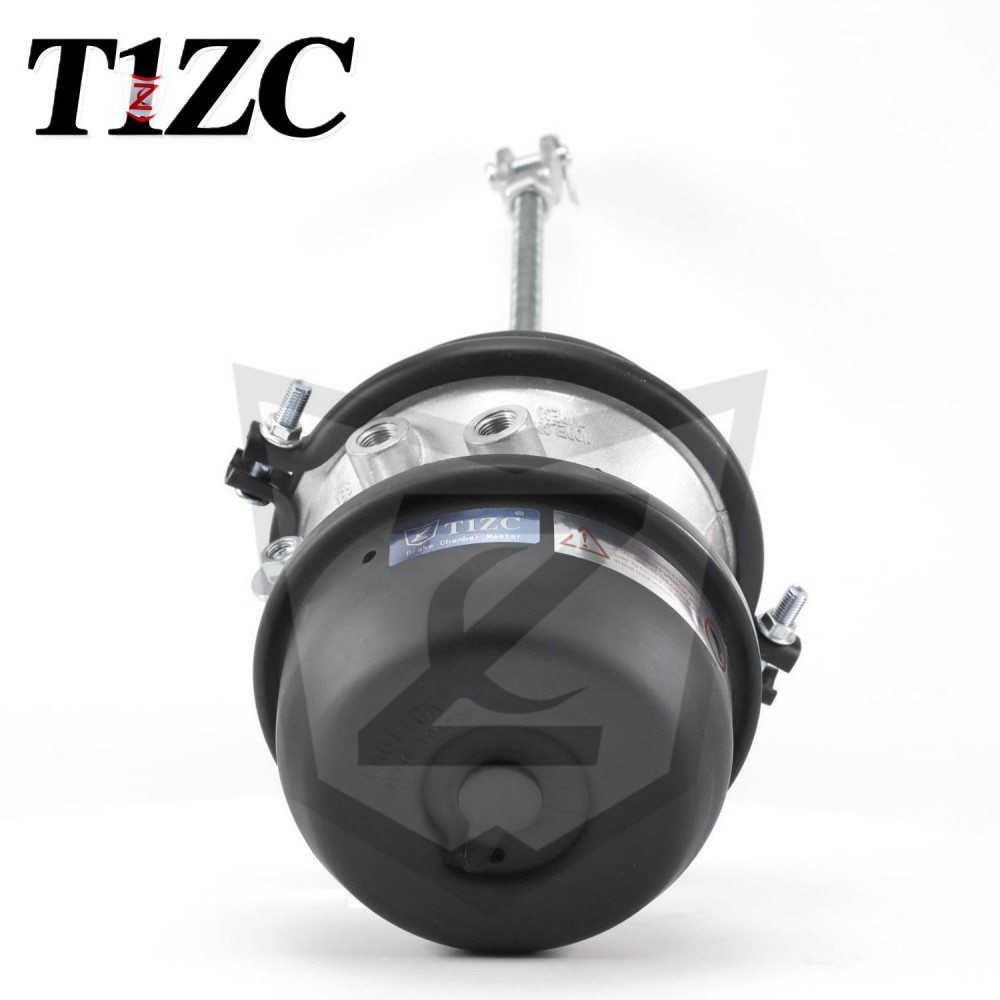 Wholesale Regular S-cam DD Brake Chamber Manufacturers, Factory - ZHUJI TEYI IMPZHUJI TEYI IMPORT&EXPORT CO.,LTD is China wholesale Regular S-cam DD Brake Chamber manufacturers and OEM factory,The Regular S-Cam DD Bra...View Product →
Frequently Asked Questions
Can I drive with a caged brake chamber?
No. A caged chamber removes all braking force on that wheel. It is unsafe and illegal to operate a vehicle on public roads with a caged brake chamber; it is intended only for repair access or controlled recovery.
What size caging bolt do I need?
The caging bolt must match the chamber manufacturer's design. Most spring brake chambers use a 3/4-inch hex-head caging bolt with locking tabs. Carry a spare bolt and the matching wrench in the truck so you are never stranded without a way to release a failed spring brake.
How long can a brake chamber stay caged?
Only for the duration of the repair or recovery. A caged chamber keeps the power spring compressed by design, but the vehicle must not be driven normally in that condition.
Should I cage both chambers on the same axle?
Yes. If one chamber fails, cage the opposite side as well. This prevents uneven brake force if the vehicle is moved during repair and makes the axle predictable to handle.
What if the pushrod does not retract after caging?
Stop and re-check the procedure. If the bolt is fully turned but the pushrod is still extended, the spring may not be seated or the brake mechanism is stuck. Do not attempt to remove the chamber. Refer to the manual release guide for the next safe step.